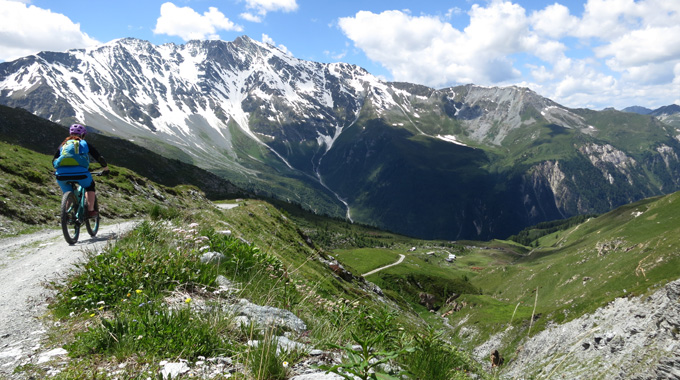
There are a couple of things that will help out enormously when you are starting out. While you won’t encounter too many technical ascents on your first couple of rides, you may come across one or two. The trick to nailing these is to keep your cadence (the rate at which you turn your pedals) high and steady. Lean forward on the bike to keep the front wheel solid and to prevent it from hopping on steeper sections.
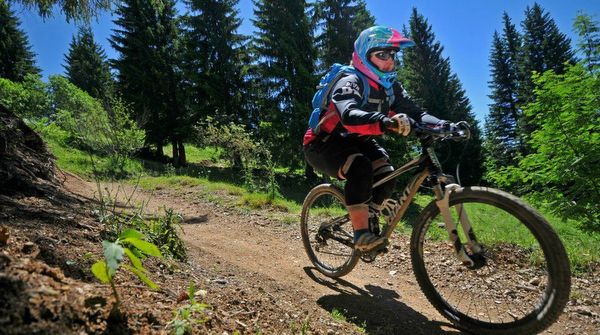
When it comes to technical descents your riding position is crucial if you want to stay on the bike and avoid face planting. The key is to drop your saddle a little bit before you start to descend. You then want to push your ass in the air like you just don’t care. Well not really, but you do want to push your backside out towards the back of the saddle, hovering just above it. This will give you stability going downhill. Practice this position on gentle descents before heading to the tougher stuff.
As you progress and start to increase your speed a little bit, be sure to look ahead. You need to try and pre-empt the line you want to take, it also gives you the opportunity to spot others that look fun to try!
Looking ahead will also give you the opportunity to ensure you are in the right gear. It is important to try to do your gear changes in advance of a climb or technical descent as changes mid-section can prove tricky and often result in that dreaded crunching sound that we all know is never good.
Though your mountain bike has suspension, you can use your elbows and knees like another layer so you can absorb the lumps and bumps your bike rolls over.
Having bent elbows is also essential to help you avoid flying over the handlebars – straight arms are more likely to catapult you over the top if you stop suddenly, whereas bent arms will absorb the movement. Think ‘pro arms’ – elbows bent out, like you are doing a push up on the bike.
Then when you really start to improve, you can also use your body to gain more momentum (known as ‘pumping’ the terrain) and even jump over obstacles!


