Heart rate training zones and how to use them explained
If you’re aiming to become a fitter, faster cyclist, a heart rate monitor might well be the best piece of equipment you could invest in.
In order to become faster, you need to push your body past its comfort zones – and then provide it with plenty of rest and recovery to allow physiological changes to take place.
For example, if you want to ride 10 miles in 30 minutes, but it currently takes you 40 minutes, simply riding 10 miles as hard as you can will only really teach you to ride at the same speed, quite well. You might cut off a little time as your handling improves and you burn a few calories.
You won’t get ‘Evenly Stevens fast’ just riding ‘as fast as you can for an hour’ over and over again
It’s much more effective to push yourself to complete short intervals, which will teach your body to ride at a higher intensity. Provided you build in the required recovery time, eventually your body will adapt and you’ll be able to increase the duration of those intervals until you reach your target.
A heart rate monitor shows you how hard you are working, giving you a number to aim for during these intervals. However, to use one effectively, you need to establish your ‘heart rate zones’, and stick to them during training – including recovery rides.
Heart Rate Monitor Training for Cycling: key uses
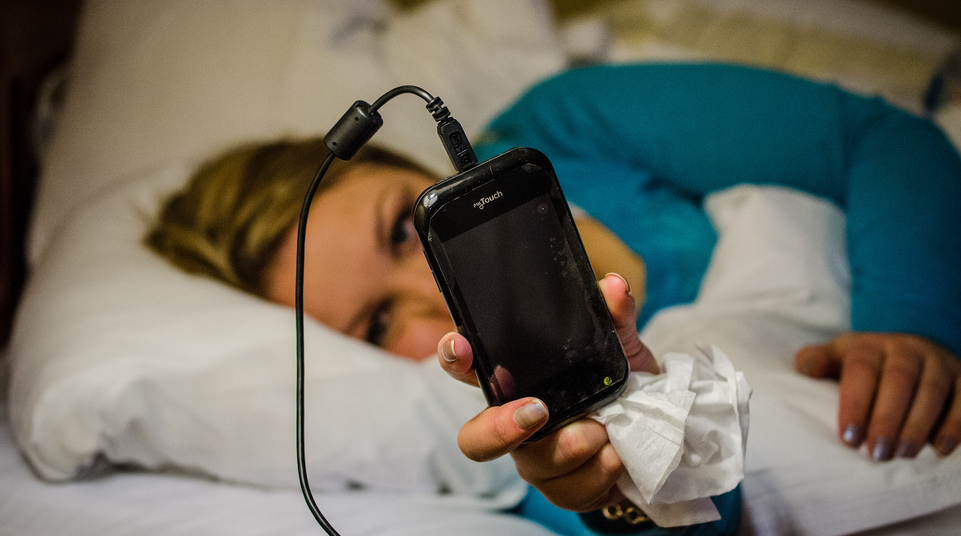
Taking your resting heart rate can be very useful
First things first: a heart rate monitor allows you to train in heart rate zones specific to your goals. This means you can plan tailored interval sessions, and complete them at the right intensity.
It’s common for athletes to struggle with the concept of a ‘recovery ride’ – we’re often so keen to progress that we want to hit it hard, in every session. However, your body adapts to training during the recovery period. Setting recovery rides and assigning a ‘heart rate ceiling’ that you won’t go beyond will mean you won’t accidentally push too hard.
Monitoring your heart rate has other uses, as well. Many athletes take their ‘resting heart rate’ in the morning. Simply strap on a heart rate monitor, completely relax, and check your BPM (beats per minute). If you track this number daily, you’ll see patterns over time.
A high resting heart rate can be a sign of fatigue, or an oncoming cold and generally signals that it’s time for a rest. If your heart rate is elevated when resting, and you struggle to get it to rise during training, that’s another sign of fatigue. A low resting heart rate generally means you’re getting fitter.
Heart Rate Monitor Training for Cycling: the limitations
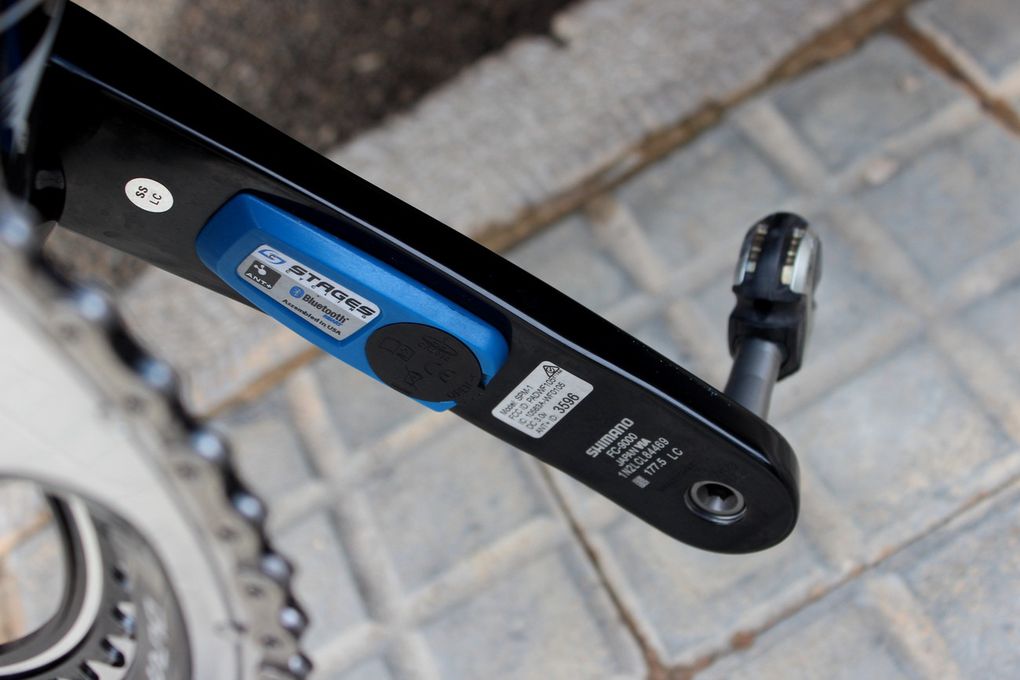
Heart rate monitors: not quite as effective as power meters, but close
In recent years, professional cyclists and dedicated amateurs have been turning to training with power meters, because heart rate training does have limitations.
Firstly, your heart rate will be higher in hot temperatures and lower in the cold – and this is worth taking into account if you’re completing intervals in a stuffy room on a turbo trainer or on a cold day.
In addition, heart rate does not respond immediately. When you first begin to sprint, your body uses stored energy – this does not need extra oxygen. When this stored energy runs out, then your muscles start to call for extra oxygen, which causes the rise in heart rate.
Therefore, in intervals shorter than the time it takes for this oxygen deficiency to take place – under 3 minutes – your heart rate does not mirror the effort you are putting in, so if you’re using a heart rate monitor you have to ride on ‘feel’, or perceived effort. Using a power meter, the feedback would be provided as soon as you put the extra power through the pedals.
In the same way, heart rate climbs gradually, so it will be higher at the end of a 20 minute interval than at the start. Comparatively, a power meter will show your actual output – in watts – from the very beginning.
Finally – as you get fitter, your resting heart rate will drop. Therefore, you might find it harder to reach the numbers you set initially. Comparatively, if you’re training with power you’ll be able to see you’re producing more watts with a lower heart rate – giving you immediate cause to celebrate. This obstacle can be addressed via regular testing and zone setting.
Despite the limitations above, training with heart rate is still effective – and it’s significantly cheaper than investing in a power meter.
Heart Rate Monitor Training for Cycling: setting your zones
A turbo test will help you determine your goals. Note: No one looks this calm and collected during a Threshold test. Image: colmax.com.
To use a heart rate monitor effectively, you need to establish heart rate zones.
There are a number of ways to so this – popular methods including using 220 minus your age to give you the ‘maximum’. However, the most well regarded option, which is the method suggest by British Cycling’s coaches, is to complete a 20 minute test.
The 20 minute ‘threshold’ test aims to find out what heart rate you could hold for an hour. You will need to repeat the test every month or so to use heart rates zones effectively, so aim to complete it in a way that you can mirror in the future – the turbo trainer is ideal but a quiet circuit you can use regularly will do.
Begin by warming up with 15 minutes of easy spinning, then complete a five minute effort – work as hard as you can for the five minutes; follow this with 10 minutes of easy spinning.
When you’re well warmed up and ready, complete a 20 minute interval, riding as hard as you can for the 20 minutes. Make sure you record your average heart rate for the test – this means you’ll need to press ‘lap’ or start a new session, depending on the sort of cycling computer you have.
Take your average heart rate for the 20 minutes, and multiply it by 0.95 – this should give you a very accurate estimation of what your heart rate would be for an hour – your threshold.
You can then use this number to set your heart rate zones – the figure from your test is ‘100 per cent’ of your threshold power:
HR Zone
Lower Limit (%)
Upper Limit (%)
Physiology
1
<68%
Active Recovery
2
68%
83%
Endurance
3
83%
94%
Tempo
4
94%
105%
Threshold
5
105%
121%
VO2 max
6
N/A – your heart rare will not respond quickly enough in these intervals
N/A
Anaerobic capacity
Zone six does not have a heart rate zone because these intervals will be below three minutes, and in this time your heart rate will lag behind the effort. These efforts are therefore ridden on ‘feel’ or perceived exertion.
As you become fitter, your heart grows stronger and becomes more efficient. Therefore, you’ll need to repeat the test, ideally every month, and reset your zones.
Heart Rate Monitor Training for Cycling: how to use your heart rate zones
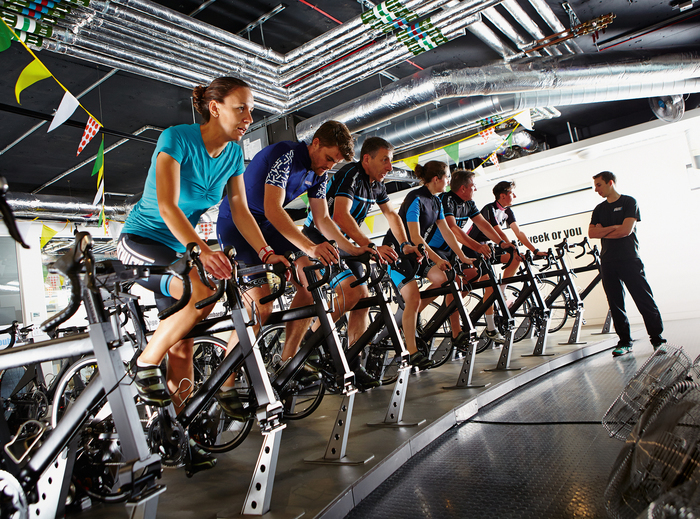
Time to get training! Image: Athlete Lab London
Now you’ve got your zones, it’s time to get training.
The zones you need to train depend upon your goals as a cyclist. What’s important is that you know which zone you are targeting with each training session, and you use the monitor to ensure you complete the training as planned.
A cyclist with sportive orientated goals will probably spend a lot of time in the endurance state, to improve their ability to go long – with some threshold efforts that will help them over long climbs. A rider who intends to compete in time trials will likely want to improve their ability to maintain threshold heart rate – so they might do some five minute efforts at Vo2 to increase their power, and longer 10 – 20 minute intervals at threshold to practice holding that effort. A rider who intends to compete in circuit races will want to target Vo2 and anaerobic capacity, to mimic the short explosive efforts common in this format.
There are endless possible sessions out there – each of which can be tailored to you, your goals, the amount of time you have available and where you can train, however, here are a few suggestions:
Endurance Ride: 2-3 hours in zone two
Endurance rides increase your ability to ride distance, which is important if you’re targeting sportives – these should be long rides, and you should keep the intensity in zone two, even if that means being overtaken a lot!
The length will depend upon your experience level and fitness, but 2 to 4 hours are common durations for these sorts of rides. These rides keep your legs spinning over, without causing too much fatigue, so can be used to provide recovery between the more intense sessions.
Tempo Ride: 90 minutes
This is a level that most people quite enjoy riding at – it feels fairly hard, without causing you to really push. If completed over 90 minute durations, without eating during the ride, this sort of effort can be used to improve your ability to burn through fat rather than carbohydrate.
If you’re time strapped, sessions in this zone are the first ones you should bin, as they don’t force any adaptation or count as recovery rides.
Threshold Intervals
These intervals are completed around the anaerobic threshold, and are very effective for 10, 25 and 50 mile time trial specialists – the goal being to improve the level the rider can hold during a sustained effort.
Remember that as heart rate continues to rise in response to stress, it will start below threshold, and rise to the top end of the parameter by the end of the interval.
Example session:
10 minute warm up, 5 minutes of 30 seconds high cadence, 30 seconds normal cadence,
20 minutes at zone 4,
10 minutes at zone 2,
20 minutes at zone 4,
10 minutes cool down
V02 Max Intervals
These are the sort of leg burning efforts that can only be sustained for three to eight minutes. This sort of effort will improve your ability to push over short durations, and doing so will gradually raise the level you can sustain over longer intervals, too.
Example session:
10 minute warm up, 5 minutes of 30 seconds high cadence, 30 seconds normal cadence,
3 minutes at zone 5, 5 minutes at zone 2,
4 minutes at zone 5, 5 minutes at zone 2,
5 minutes at zone 5, 5 minutes at zone 2,
4 minutes zone 5, 5 minutes zone 2,
3 minutes zone 5,
10 minute cool down
Anaerobic Capacity Intervals
At this point, the heart rate monitor cannot be used to determine effort – so you’ll need to ride on feel. These are 100%, as hard as you can go for the duration. They improve your leg strength and will help you to attack in a road race or win a sprint.
Example session:
10 minute warm up, 10 repetitions of 1 minutes in zone 6, and 1 minute in zone 2, 10 minute cool down.