Share

Commuting Accessories

Cycliq Fly12 Reviewed: Lights, Camera, App Ready

We tested the Cycliq Fly12 which is a combined video camera and light for your handlebars

When the Cycliq Fly12 combined handlebar video camera and light arrived I was pretty excited. Within a week I was fed up of swearing at the thing and ready to call my review ‘the time I wanted to swat a Fly12’. After about a month I feel like we’ve finally turned full circle and we’re back to sharing a friendly relationship where I understand how everything works and appreciate the myriad functions available.

It’s been quite a journey.

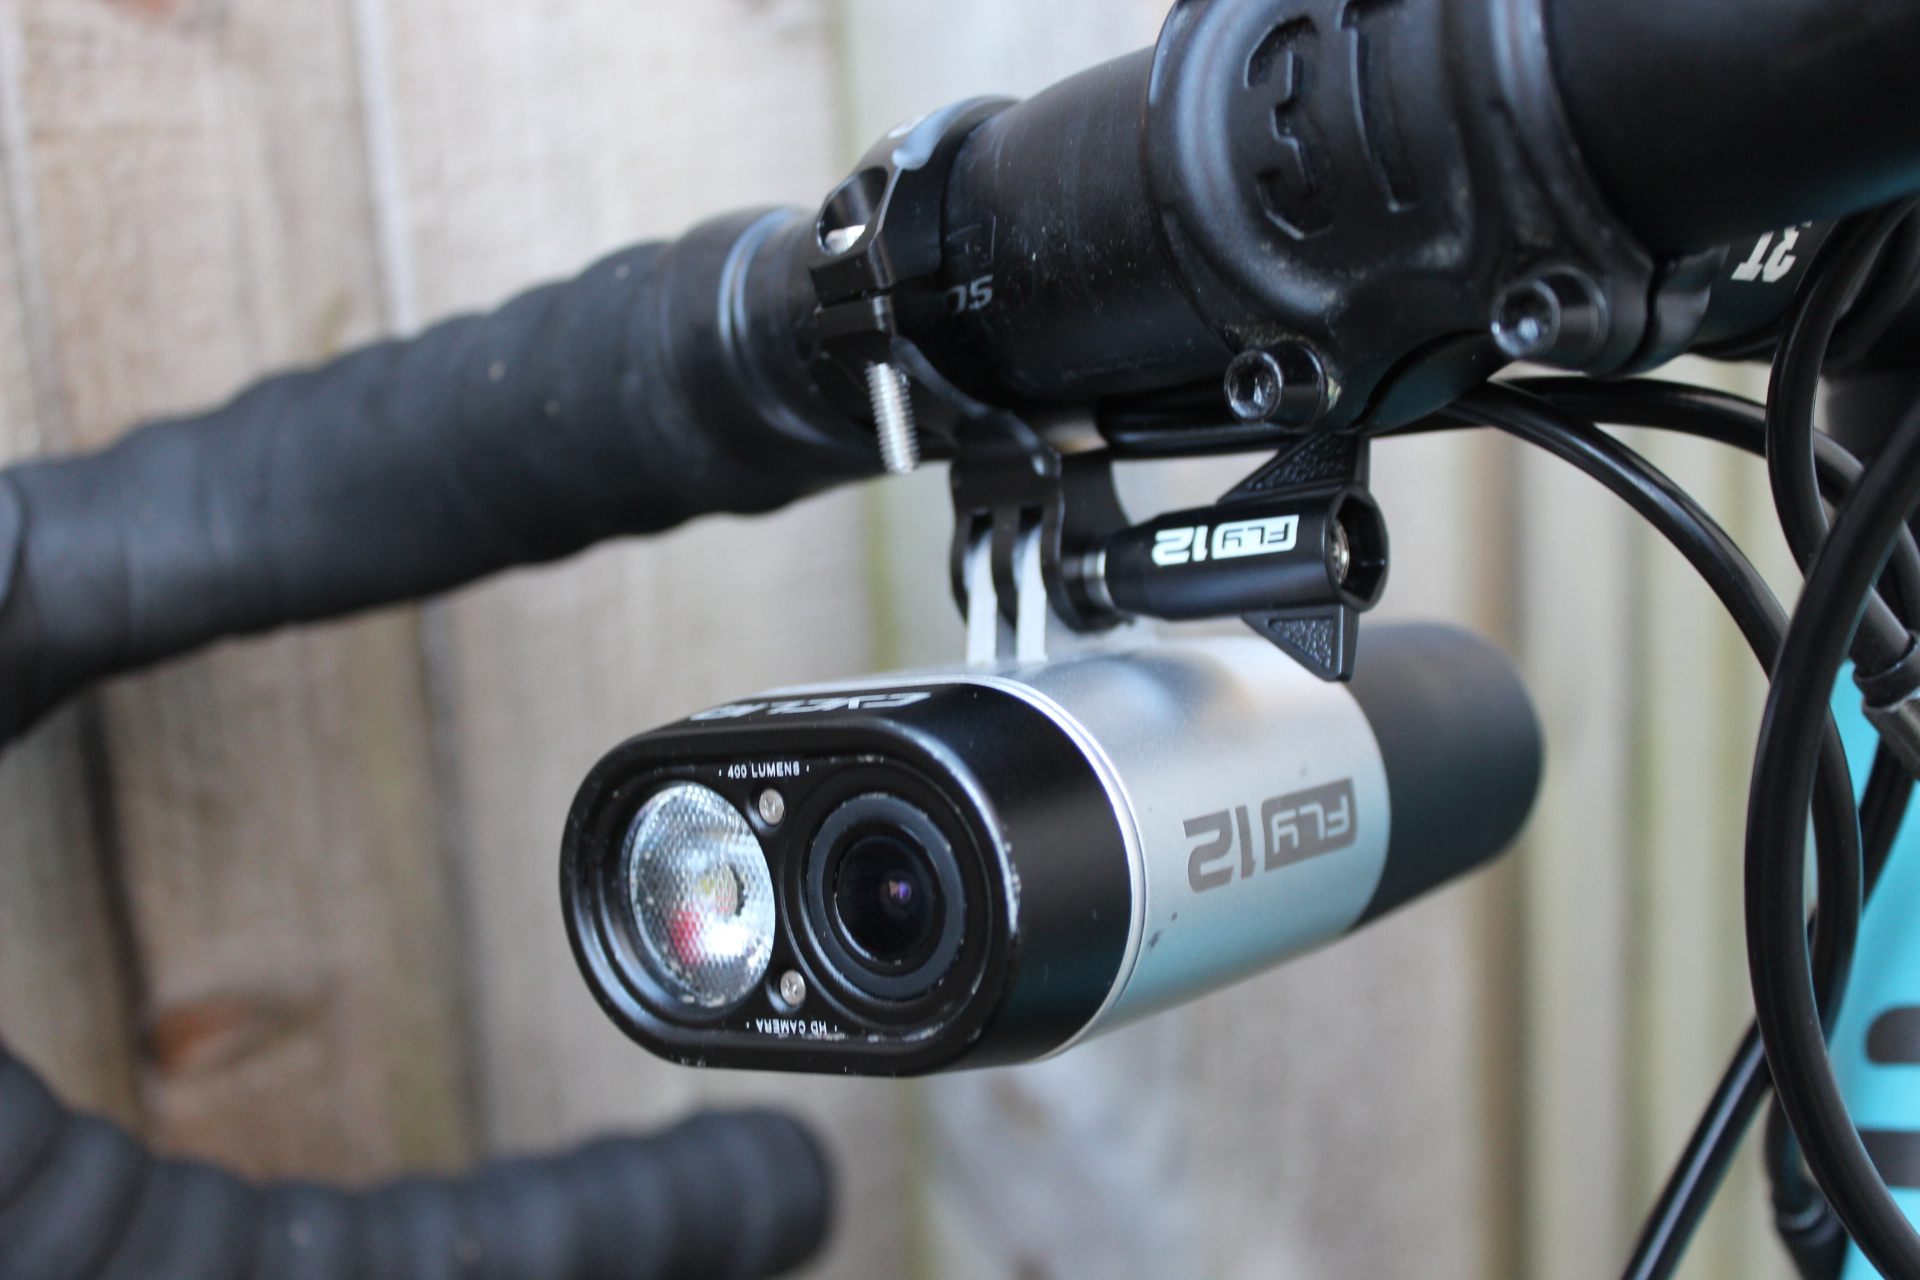
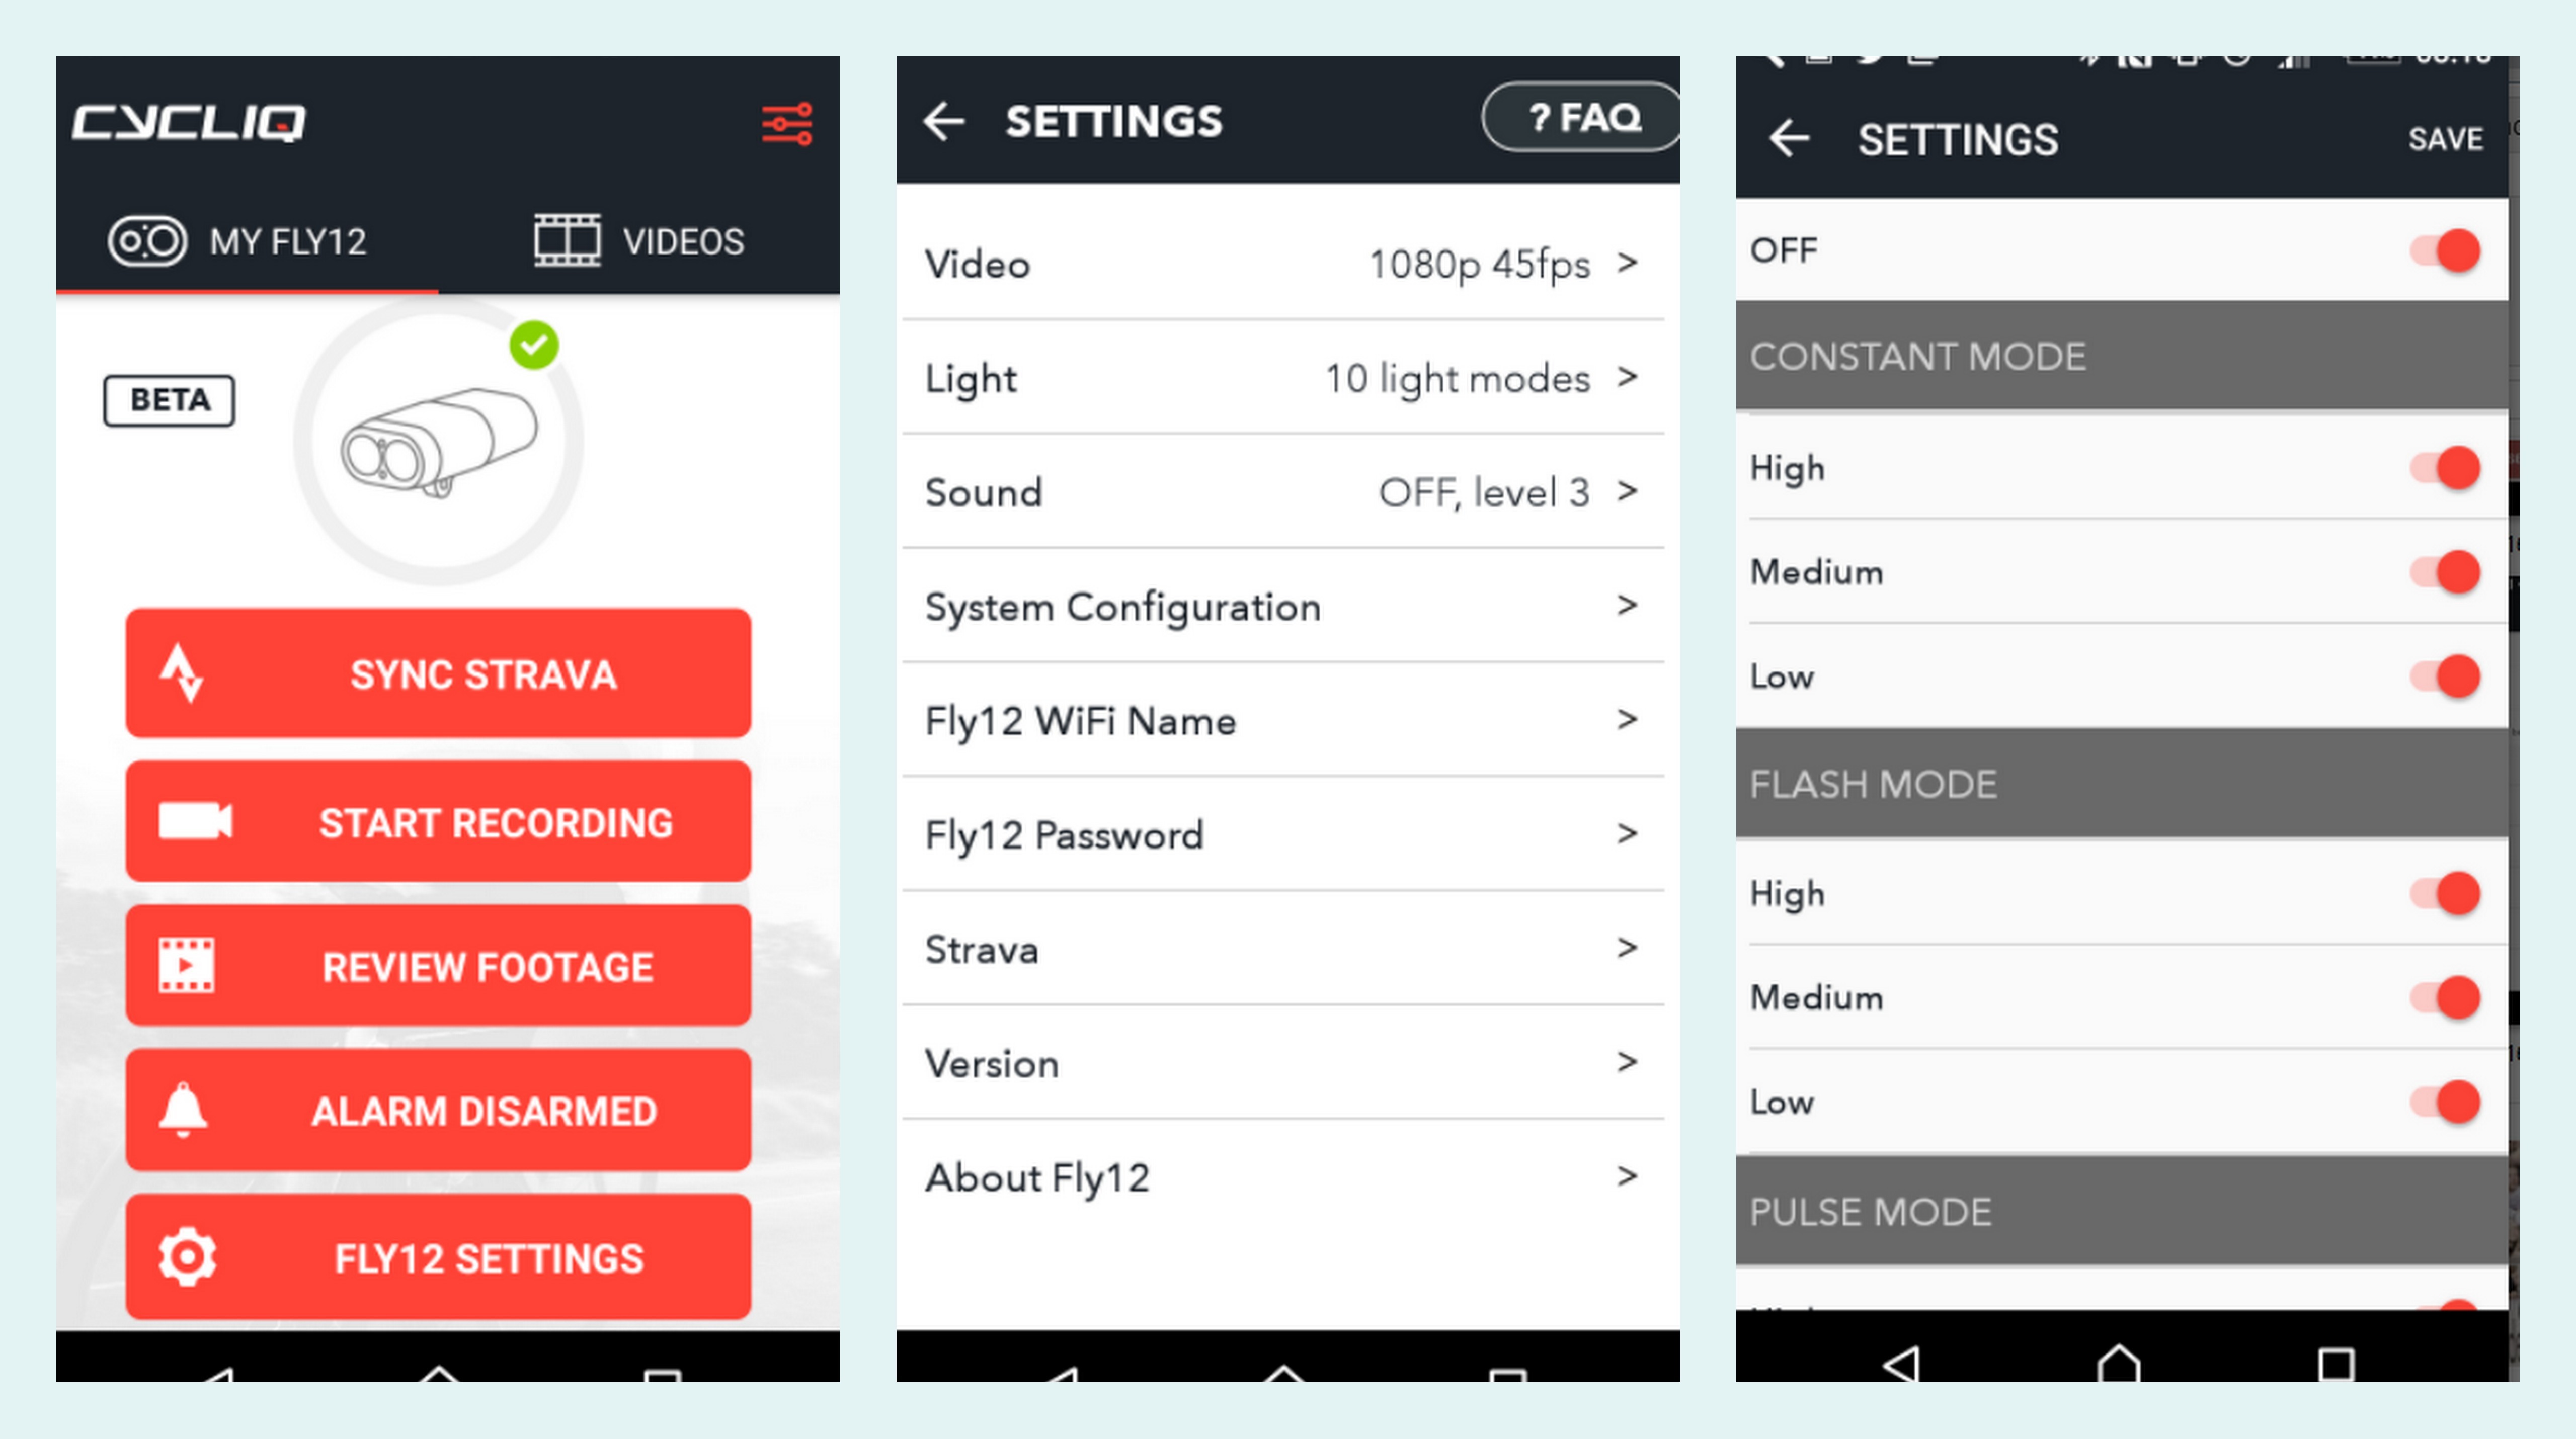
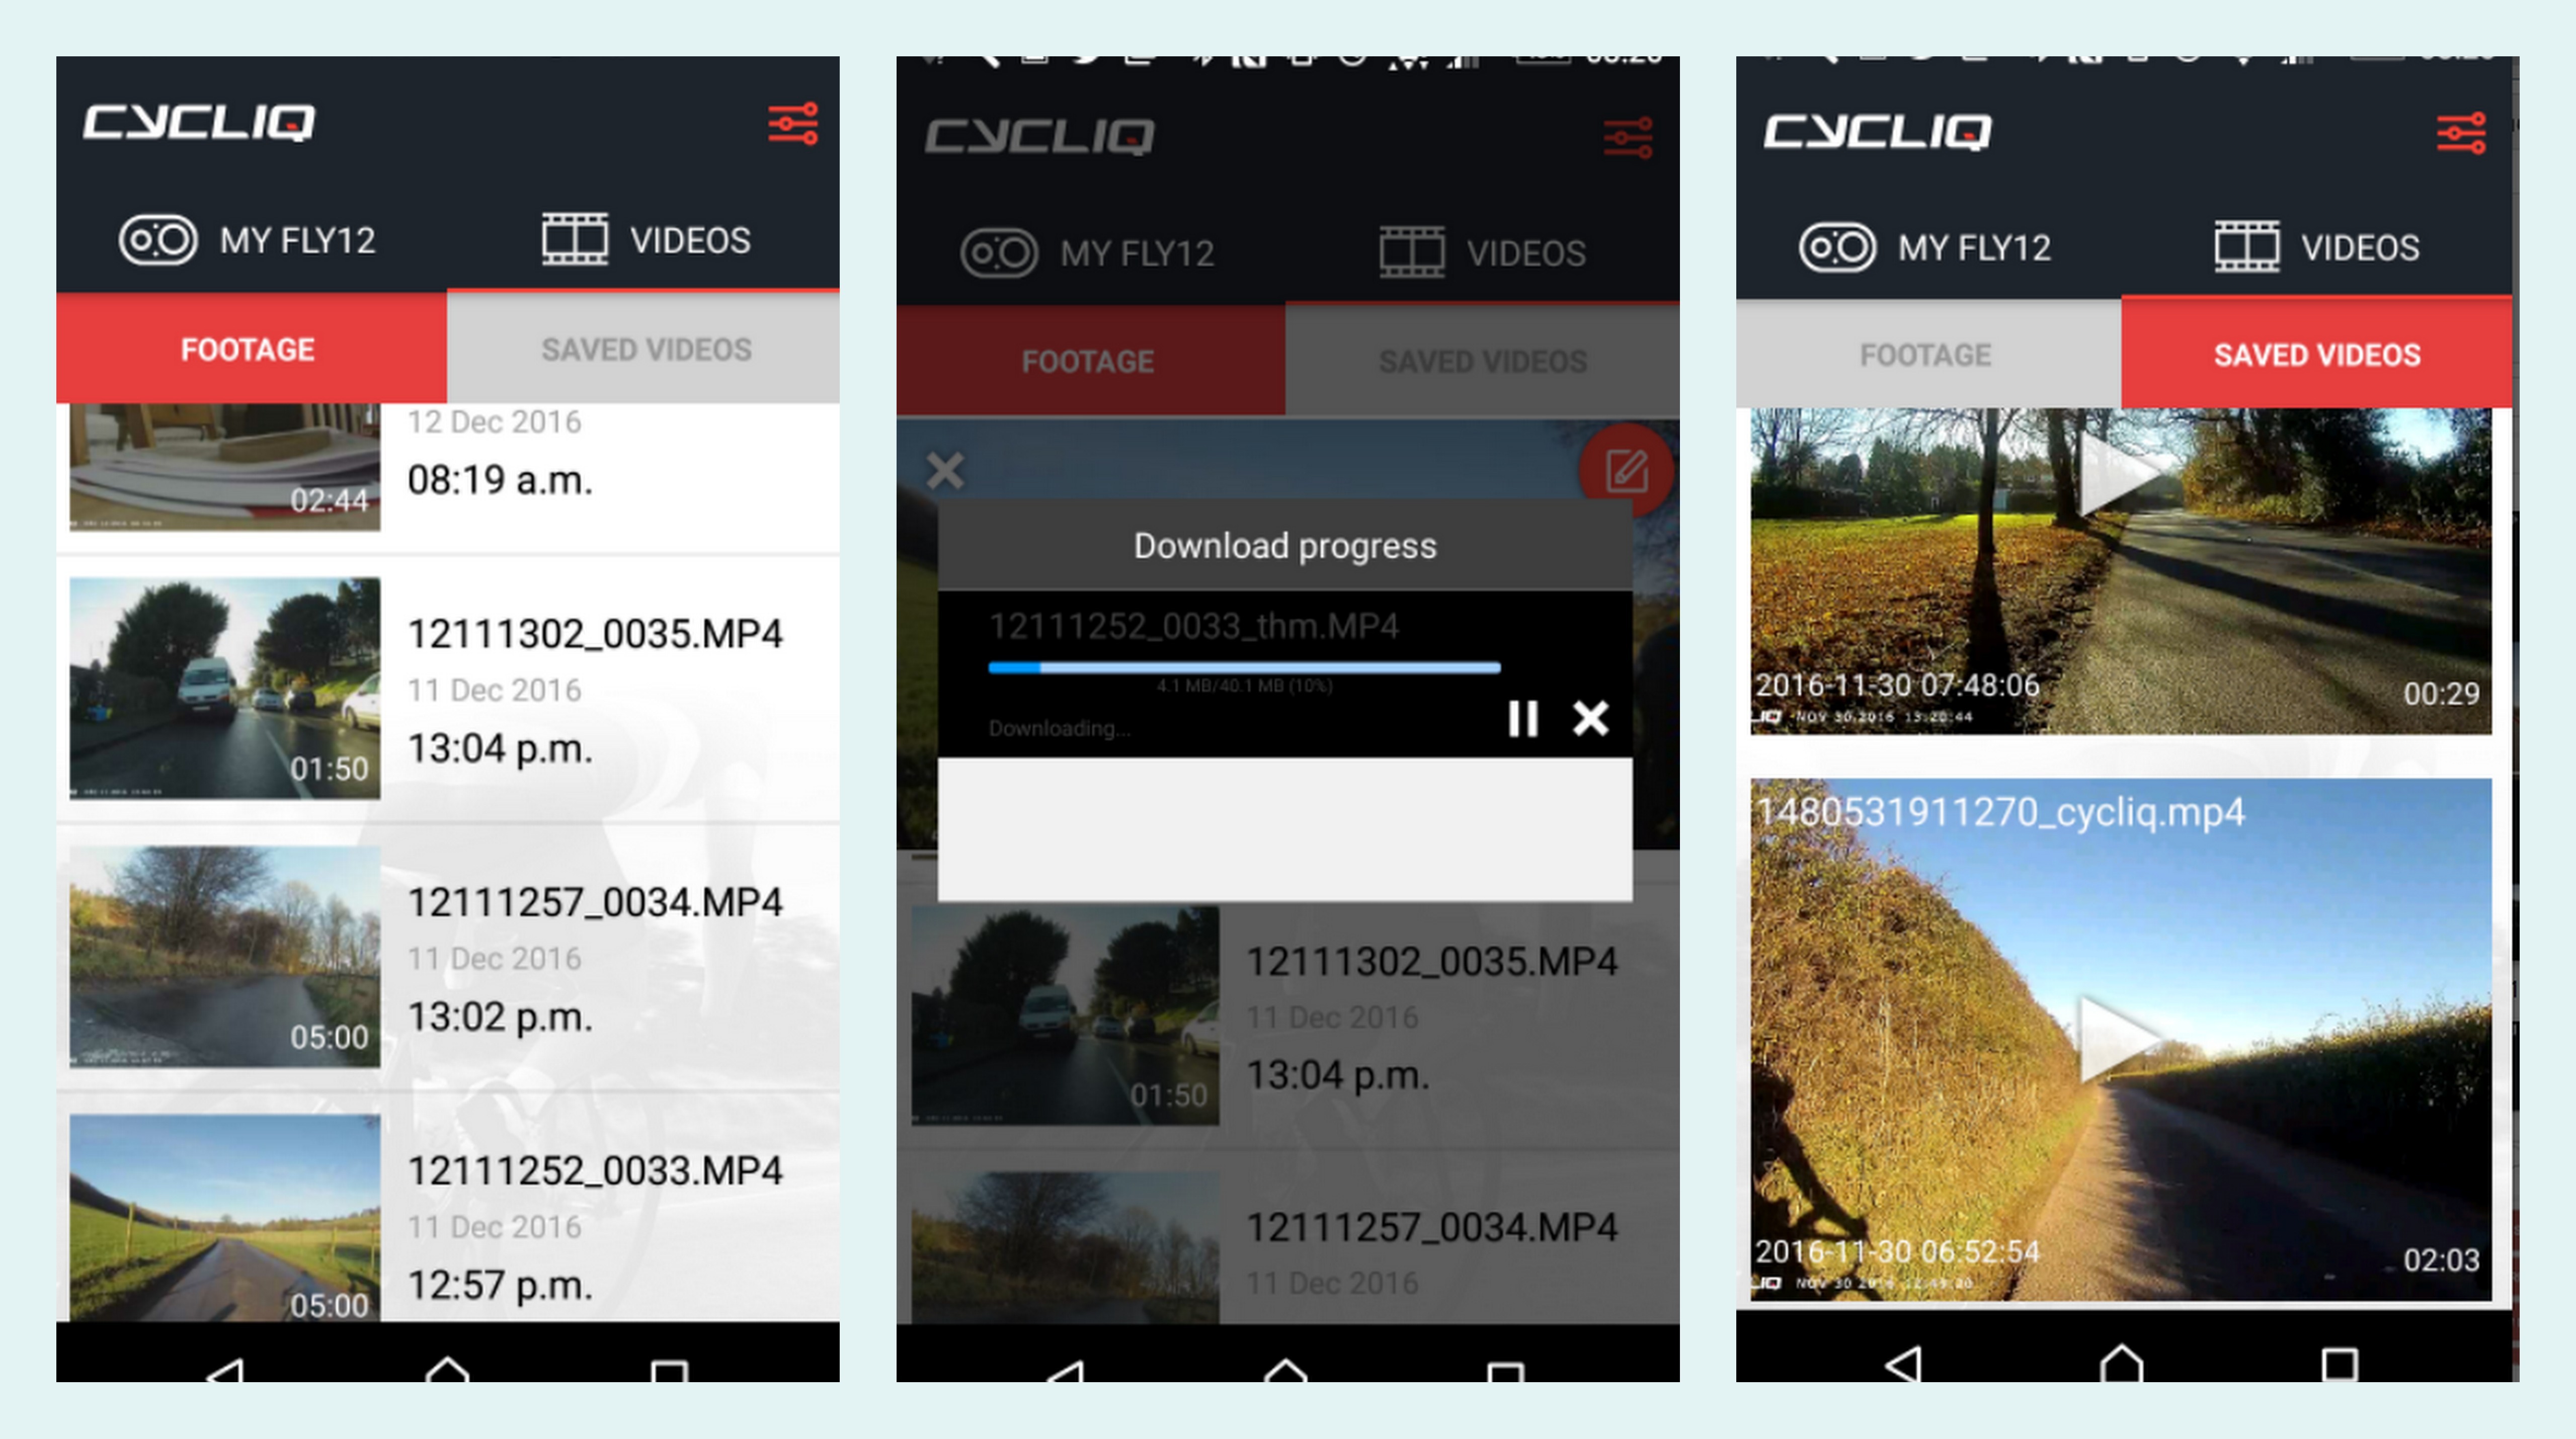
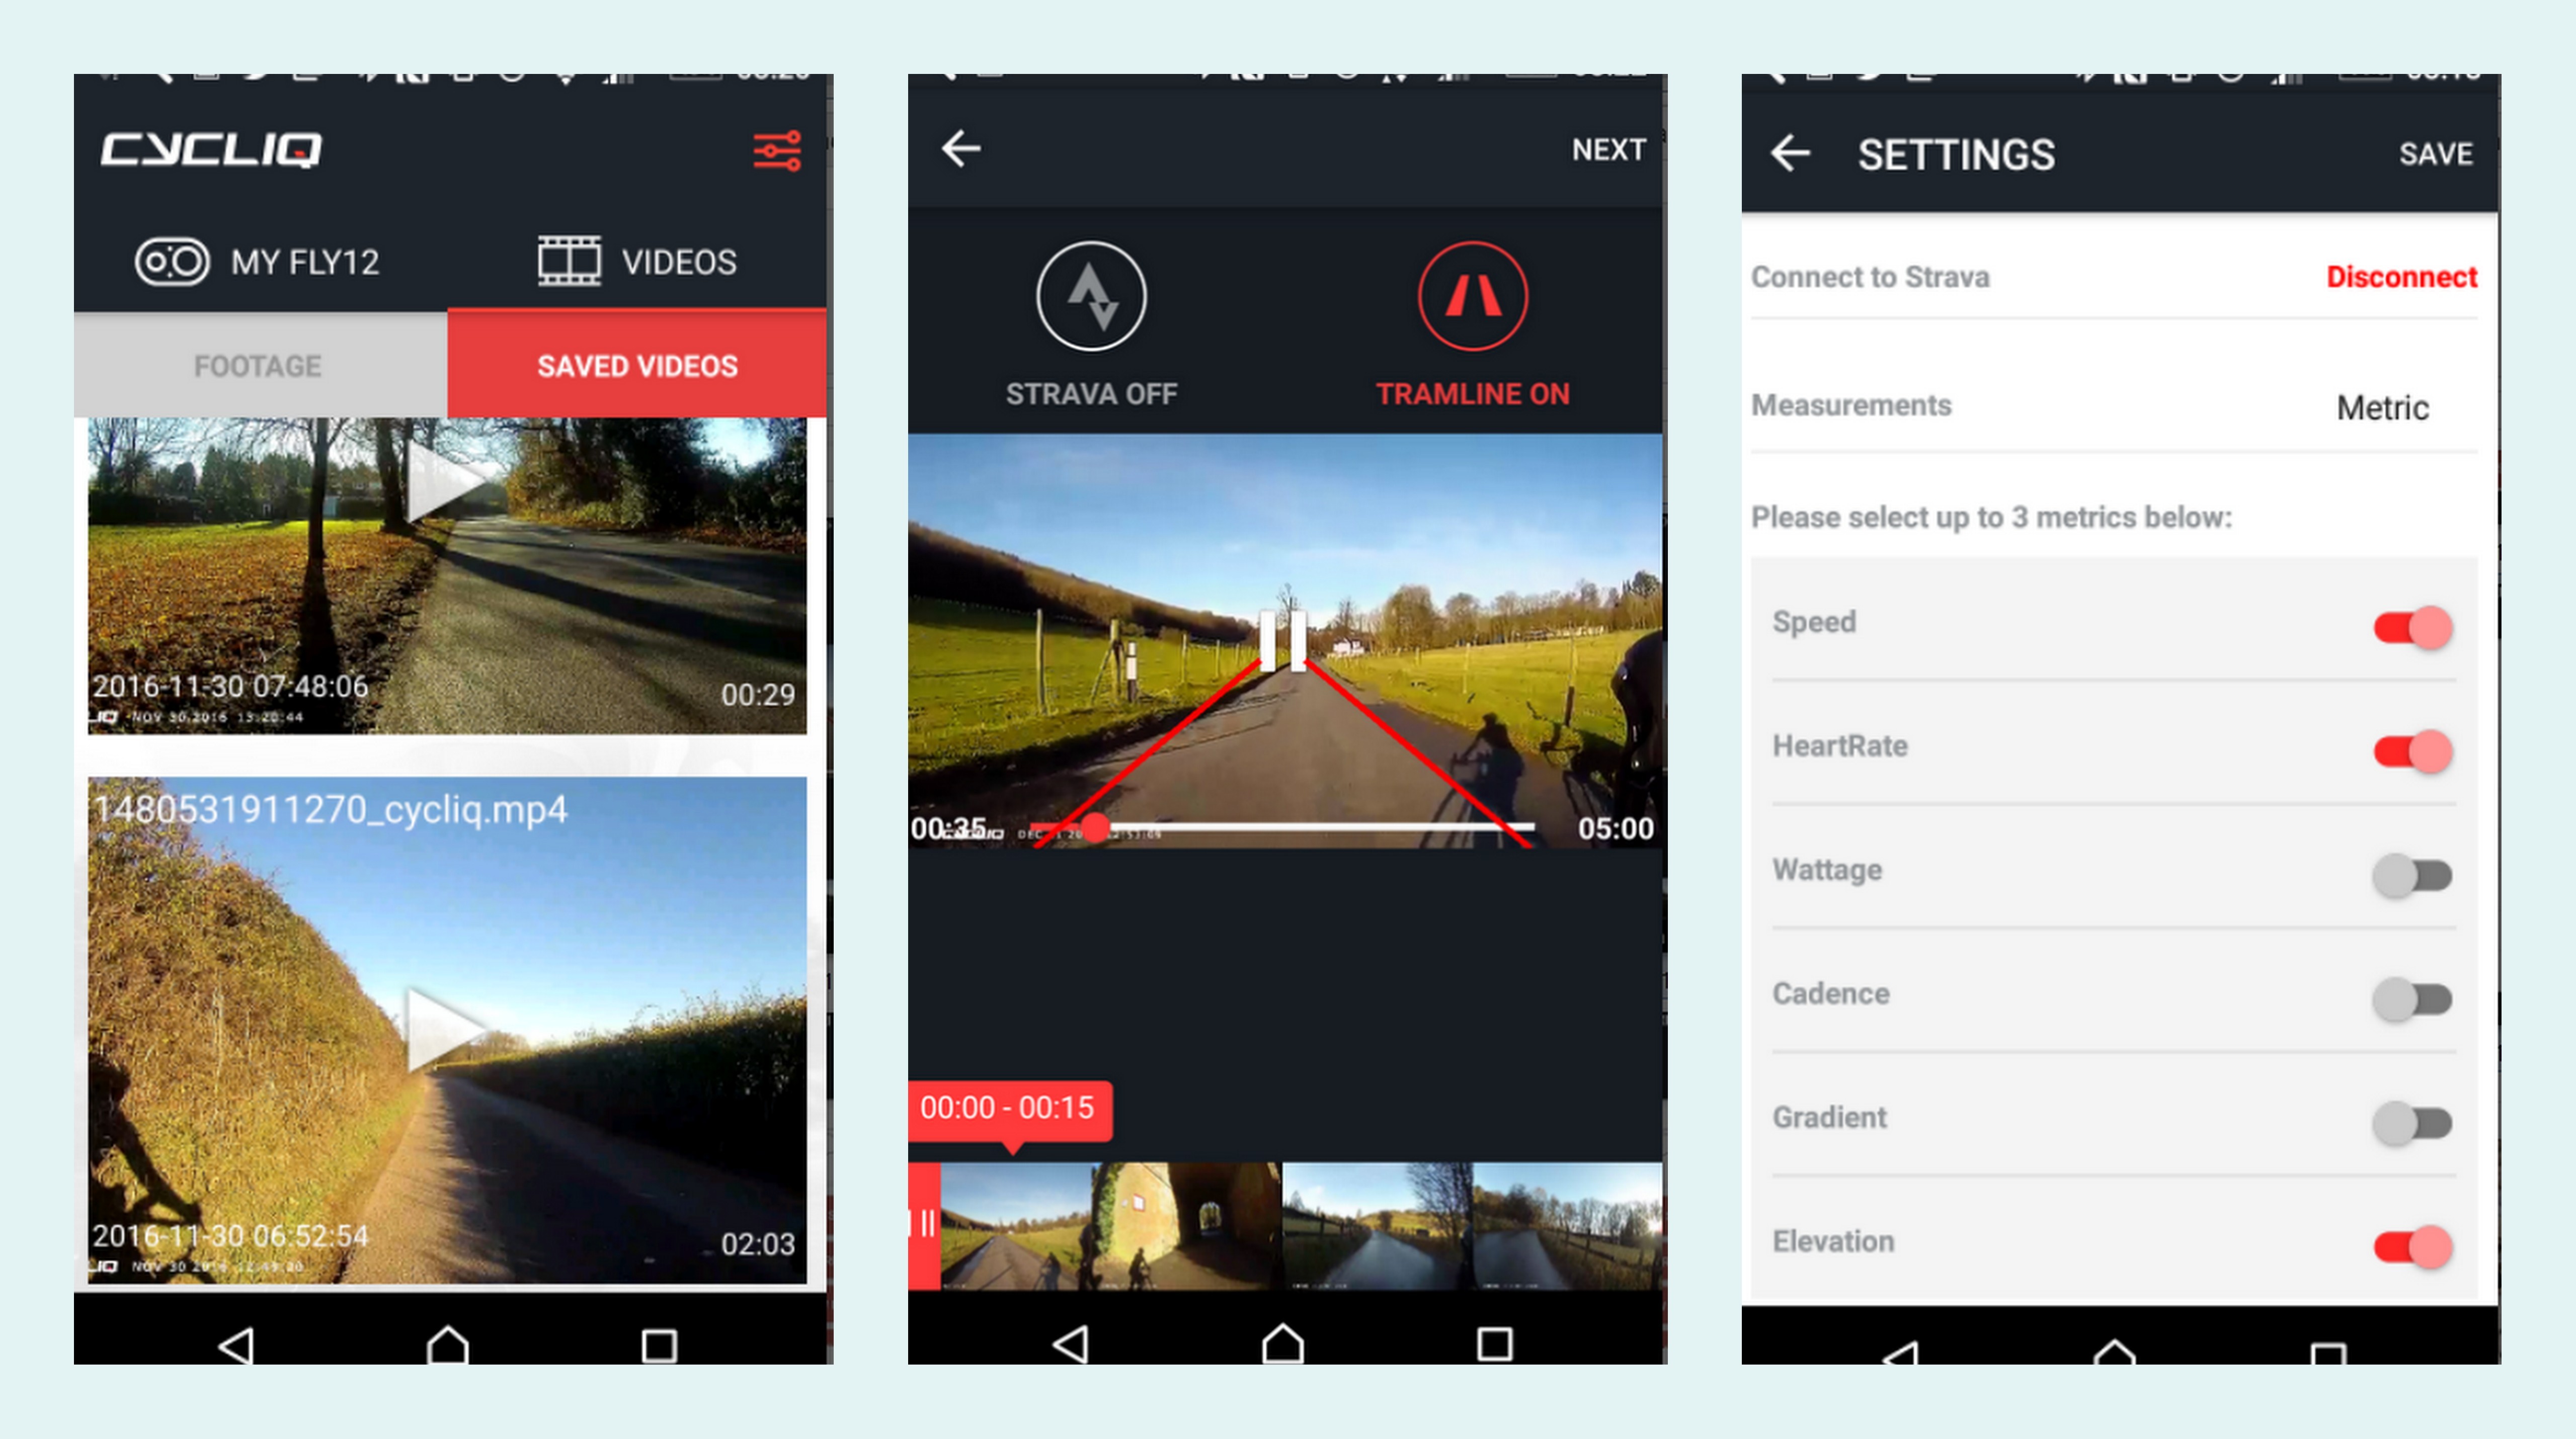
Cycliq first burst on to the scene with the Fly6 – a rear light that acted as a camera, picking up footage of overtaking cars (and your mates grimacing, waving, and snotting on your rear wheel). It connected via a USB cable and was all pretty simple. The Fly12 shares the same basic functions – it’s a front light that records video. However, it interacts with an app on your smartphone, which offers an array of exciting features.  These include tramline overlay, so you can see how close cars are passing; Strava overlay, so you can see how fast you’re going, incident detection and even an alarm setting in case you leave the otherwise defenceless little Fly12 on your bike at a café stop.

What’s in the box?

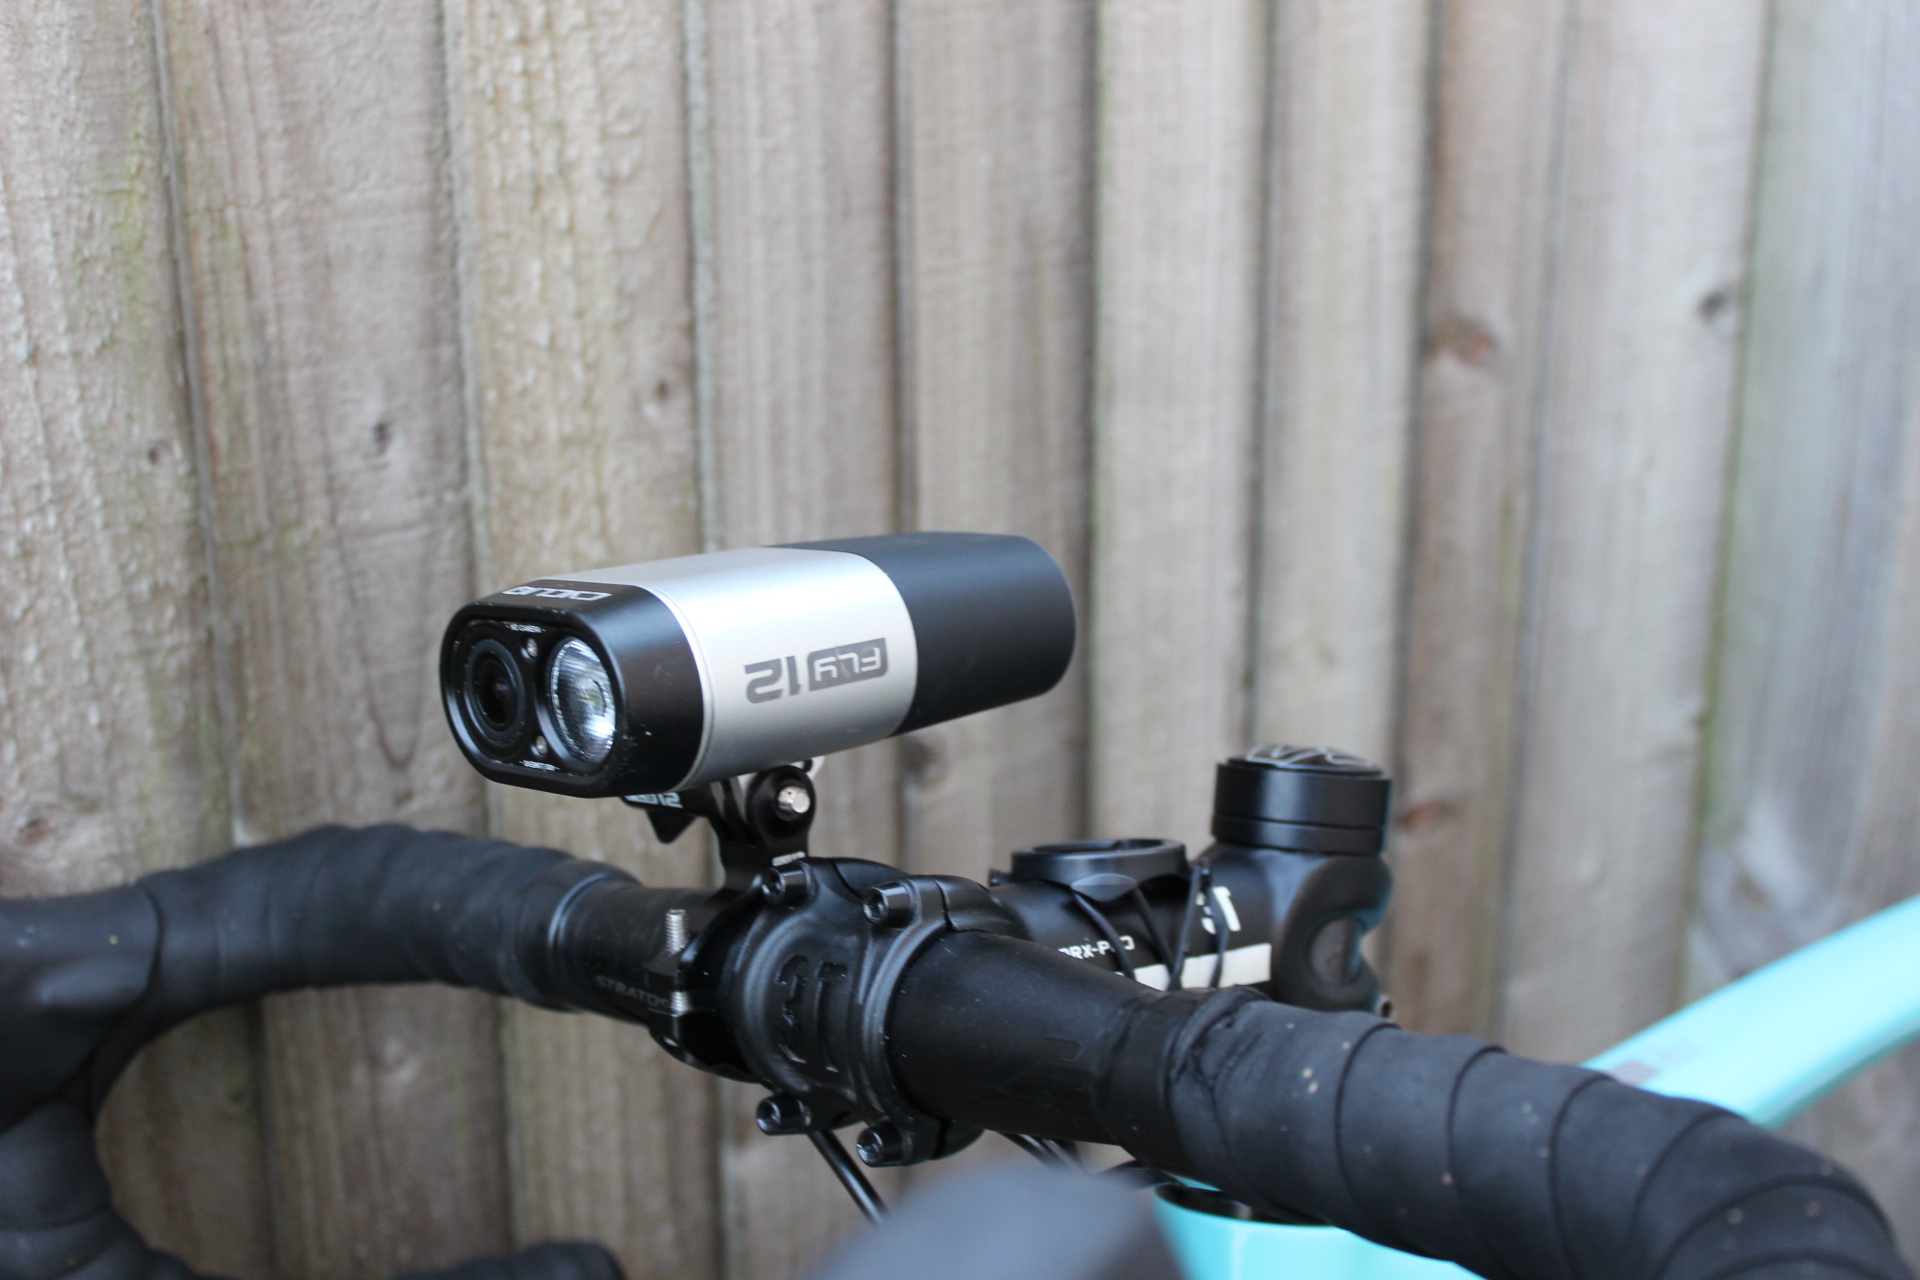
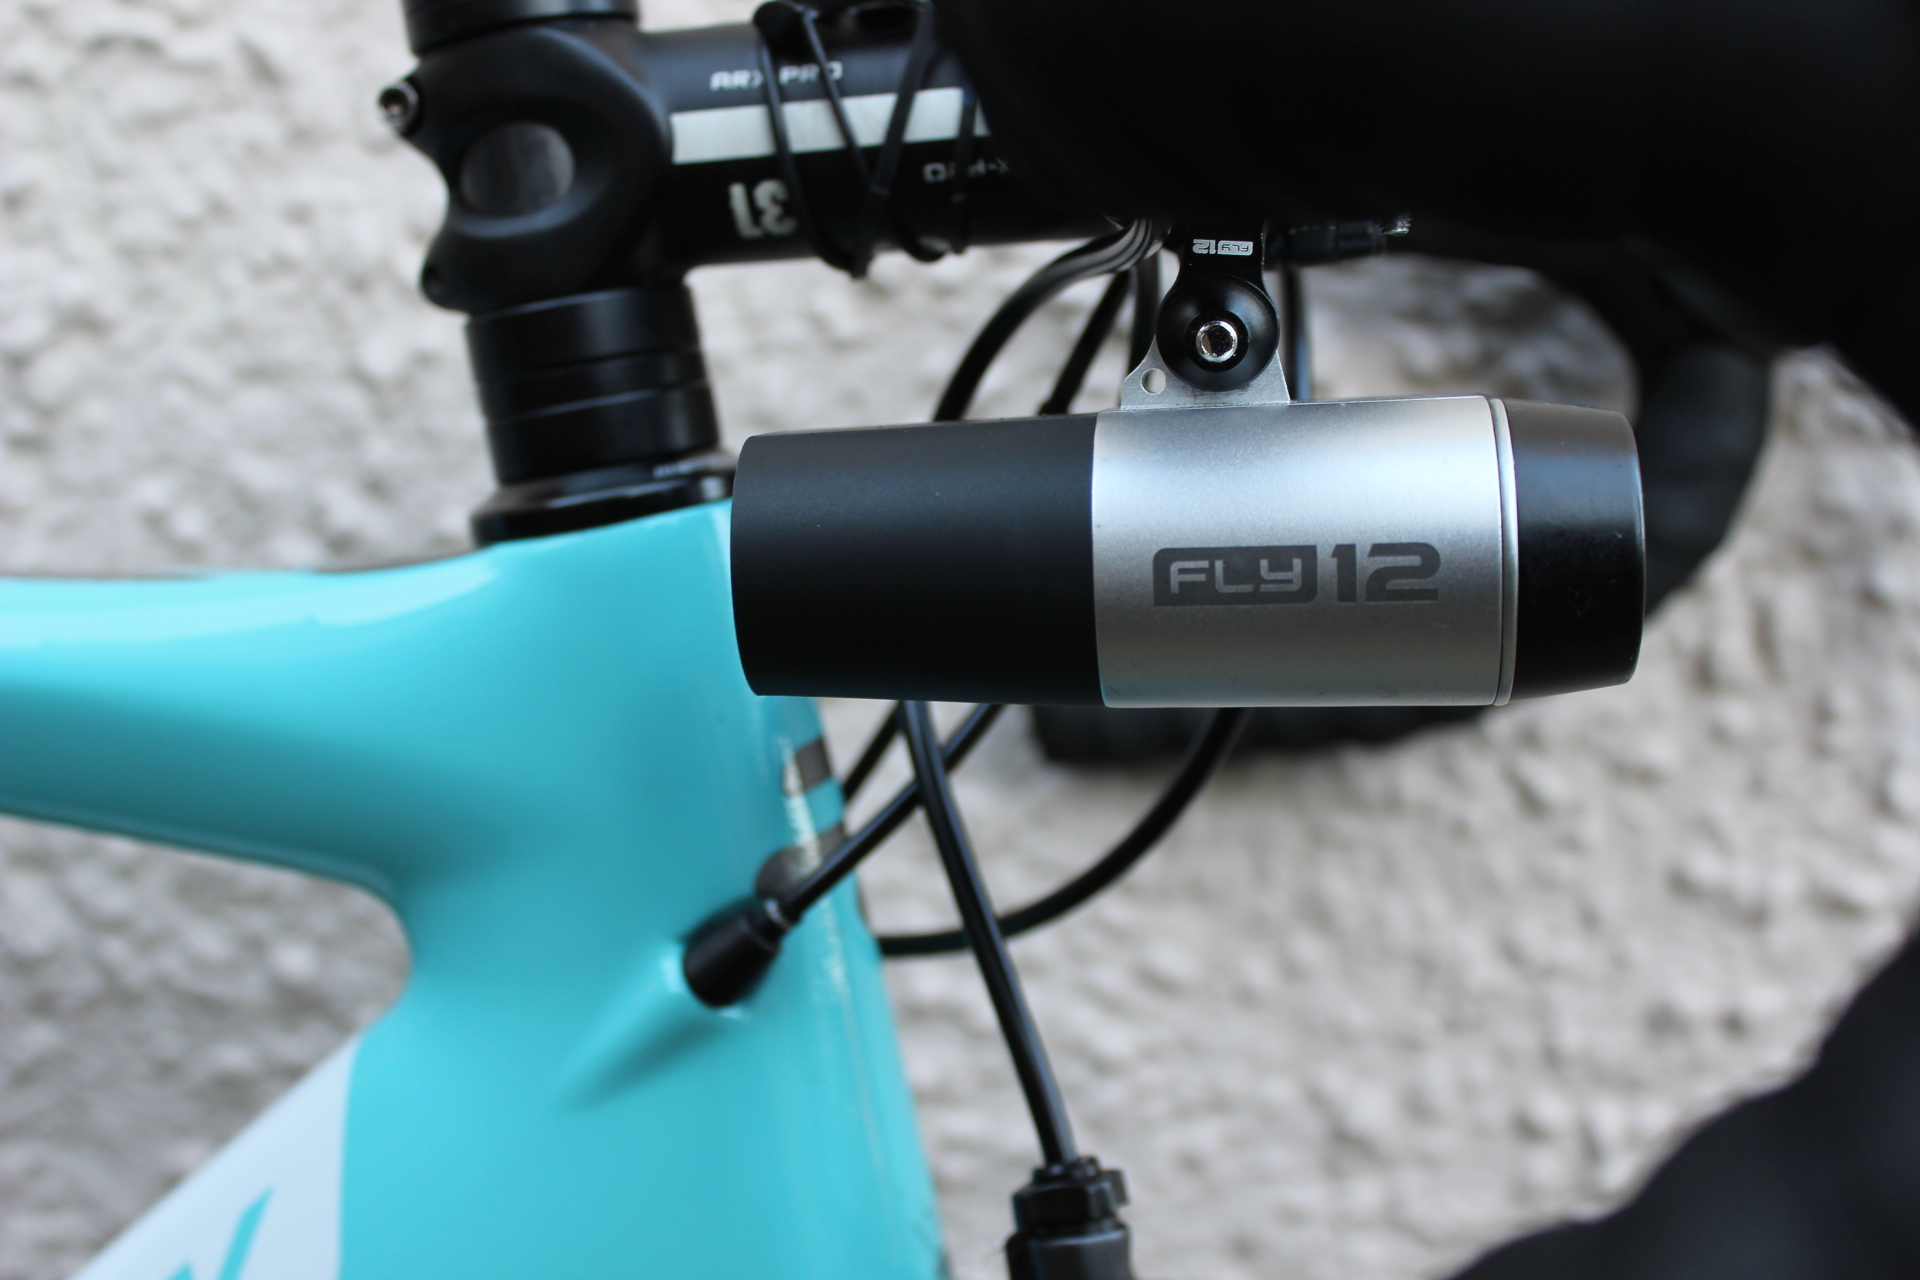
The Fly12 arrives in a presentation box containing the unit itself, sitting on top of a tripod mount. It’s a weighty unit, at 245g – but also robust which is a good thing considering it intends to help you out with footage after a crash.

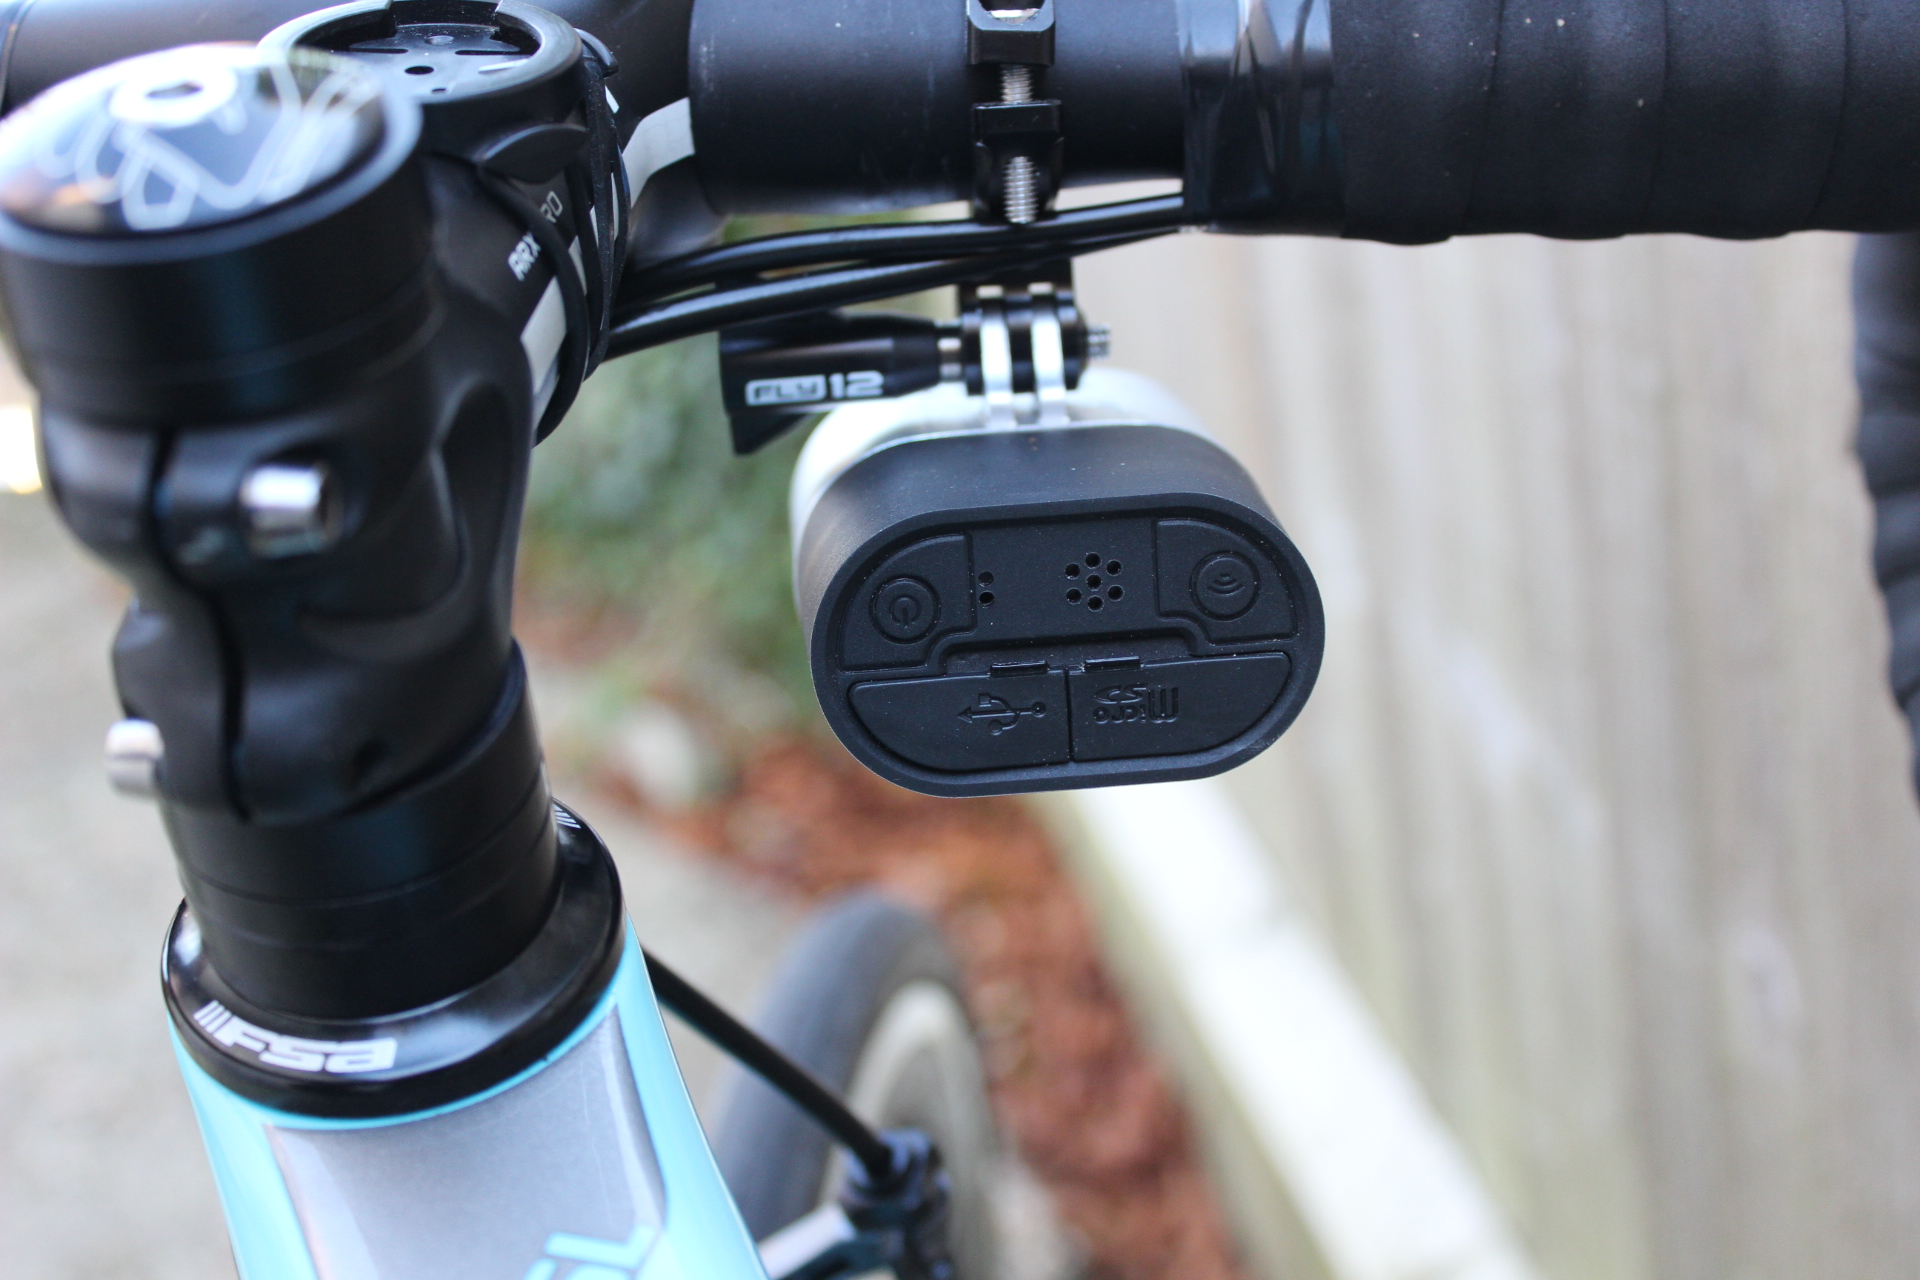
There’s a handlebar mount (and its through bolt), 16GB SD card, SD card adaptor, USB cable, safety tether and Quick Start Guide. (And an Allen key for the mount bolts in case you’re one of those bizarre cyclists who has got this far in life without even a multitool.)

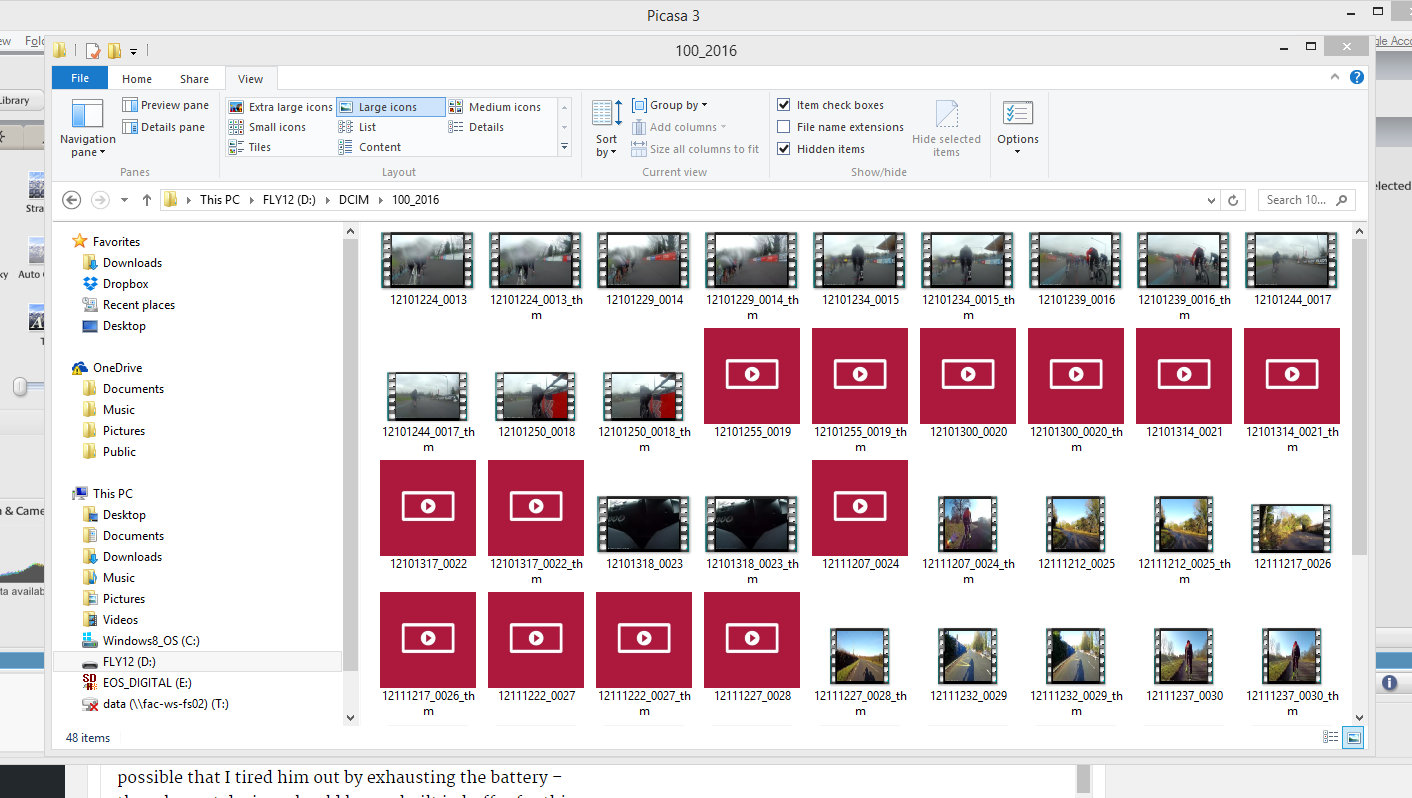
The camera itself offers 1080p resolution, enough to provide clear footage – which you can see in the video below… 

The light provides 400 lumens, over several different modes with a total of 10 hours of battery life. A rubber cap on the rear of the light covers the USB port and memory card slot – and the unit is Nano treated, which means that even if you didn’t replace one of the bungs and allowed water in, you’d be ok (probably not advised, though).

The mount slips onto your handlebars, and is secured via two small bolts. The Fly12 itself slots onto the mount, and then the ‘Fly12 bolt’ needs to be screwed through the two adjoining circular tunnels created. You can mount the camera above the handlebars…

Mounted above the bars

Or below the handlebars…

Mounted below the bars

You can also upgrade to a duo mount, which allows you to fit a cycling computer and the light onto the same mount, which I used on several occasions.

Out front mount (you can swap it so Garmin faces up – just not at track unless you want a telling off)

The screw in bolt is simple to use, but not as quick as the traditional ‘turn and twist’ available on other devices, so removing it for quick trips in to town became a bit of a faff. The Fly12 does have an ‘alarm’ setting that you can engage via your smartphone, which is fine if you’re sitting in a café a metre away. But this light/camera duo is really targeted at commuters. There’s no way I’m leaving a £275 device on my handlebars when I’m browsing fruit and veg in the supermarket.

The Quick Start guide in the box gets you going, but more in-depth advice is largely to be found online, on the Cycliq website’s ‘Support’ section.

Using the basic functions

Initial usage seemed fairly simple. There are just two buttons: ‘on/off’ and ‘Wifi’. The on button turns on the camera, and pressing it again will cycle you though the different light modes available. Pressing the Wifi button mainly switches on the Wifi, but when in use also lets you capture an image.

You can see that the Fly12 is recording via a small flashing light on the top of the unit, which turns from green to orange when battery life is half way to exhaustion. This works well, unless you decide to mount the Fly12 underneath your handlebars. In this configuration, you have to peer underneath the handlebars to check the Fly12 is on. I did lose one awesome footage collecting opportunity on a really wet ride in Yorkshire because I’d failed to notice the green light wasn’t flashing due to my inability to ride my bike and look underneath the bars at the same time.

The camera takes video in five minute segments, and then the simple method of viewing it is to connect the Fly12 to your computer via USB. This all works very smoothly and I enjoyed cycling through the five minute segments to find what I was looking for. The 16GB memory card is large enough to contain footage of a longish ride, but once full it will write over old recordings so you do need to save the ones you want before your next outing (I once wrote over all my footage with three hours of my living room floor when I forgot to turn it off – I take full responsibility for that error).

Fly12 footage on computer, after plugging in via USB

As well as the Alarm function – which releases a trill ‘neenwwaawwww’ noise when moved, there is also an ‘incident video protection’ feature built in. If you crash, the Fly12 will detect this, and save the footage around the event. Very handy if you need the evidence down the line.

Fly12 and I did have one minor fallout when he decided to go to sleep for a little while – refusing to wake up until I stuck a pin (actually, the end of an old earing) up the little ‘Factory Reset’ button in his backside. This woke him up, but a day later the process had to be repeated: twice. I still don’t know the exact cause of this, but after three Factory Resets everything worked fine, and I do believe it’s possible that I tired him out by exhausting the battery – though most devices should have a built in buffer for this and it may have been something completely different.


CycliqPlus App

You could use the basic functions of the Fly12 without the app. However, all of the fun stuff requires a download via the app store. The iOS version is complete, but my Sony phone and I had to use the Android ‘Beta’ version. Basically, ‘Beta’ means software geeks are still completing the final testing – though Cycliq promise the finished version is almost complete.

Once you’ve downloaded the app, you can connect via Bluetooth or Wifi. Initially, I didn’t realise that you could turn the Wifi/Bluetooth mode on without first pressing the ‘On’ button – which begins automatic recording. I can see my uneducated logic here – ‘surely the device needs to be on to connect?’ – but pressing the Wifi button alone leads to a few beeps and everything works fine without the need to record your double-chin-over-smartphone face.

Connect, then use the app to adjust settings (note Beta in left hand corner)

Once connected, you’re presented with the option to turn your alarm on or off, start recording, view recording, sync Strava or adjust settings. Within settings you can enable the incident detection, adjust resolution and light modes, and connect to Strava.

Download and view footage via the app

To view footage, you click on to ‘videos’, select ‘footage’ – and then either view videos there, or download them so that they’re saved on your phone permanently (or until you delete them). Once downloaded, you can add tramlines, and overlay Strava details if you had the function switched on. The Strava function seemed, initially, like one of the coolest pulls to me. However, I typically record my ride on a Garmin computer and upload to Strava, rarely recording rides on my phone. It seemed like overkill to mess around turning on ‘All the Strava’ and so when the two didn’t marry up on first attempt I didn’t really use it.

Add tramlines or Strava overlay from your App

I did find a couple of times that I’d hit ‘download’, watch as the little blue bar moved across the screen – then on completion the app would close without warning. However, I imagine this is to do with the Beta nature of the software, it didn’t happen every time and my footage was always there when I fired it up again.

The Verdict

The Fly12 is a robust unit, and the record, upload and light functions are simple and easy to use. Once you download the app, you’ll find many more exciting features.

Further development could iron out a few creases – a clearer indicator to show when the camera is on might be helpful, and the mount could do with development to make removal and instillation quicker. Personally, I’d be inclined to control the light and video function with separate buttons, to save fiddling about when in use during daylight hours, but this isn’t make-or-break. At the end of the day I had tons of fun playing with the actual footage, and perhaps that’s because it was that element that appealed to me most.

At £275, it’s a considered purchase. The savvy amongst you will be quick to point out that cameras from other brands could be purchased, alongside a brighter lumen light, for the same money or less. However, the Fly12 is designed to capture commutes and help detect incidents, and it’s these functions that set it apart.

See the Fly12 on the Cycliq site here. 

[monetizer101 search=’Cycliq Fly 12′]

Newsletter Terms & Conditions

Please enter your email so we can keep you updated with news, features and the latest offers. If you are not interested you can unsubscribe at any time. We will never sell your data and you'll only get messages from us and our partners whose products and services we think you'll enjoy.

Read our full Privacy Policy as well as Terms & Conditions.

production