Share

Road Cycling Skills

Beginner Road Cyclist 101: TWC Catalogue of Advice to get you Started

Here it is - a catalogue of advice for those beginning their road cycling adventure

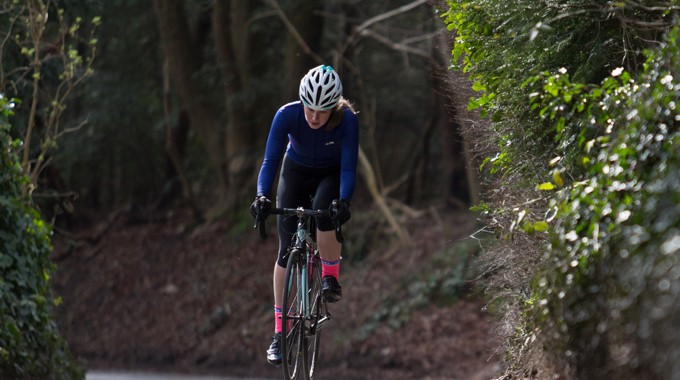
Team TWC loves road cycling. Of course we would – we like all forms of cycling and we are biased – but with women all over the country dusting off their bikes every year we know we’re far from alone. 

Getting into road cycling can be a very quick passage – one day you’re setting off on your first ride around the block with flat pedals and the next you’re attending a sportive and loving every minute.

Along that path there is admittedly rather a lot to learn. The good news is that none of it needs to be complicated , and we’re here to help. Without further ado, here’s a look at some of the key things you need to master as a beginner road cyclist, and our advice for every pedal stroke along the way…

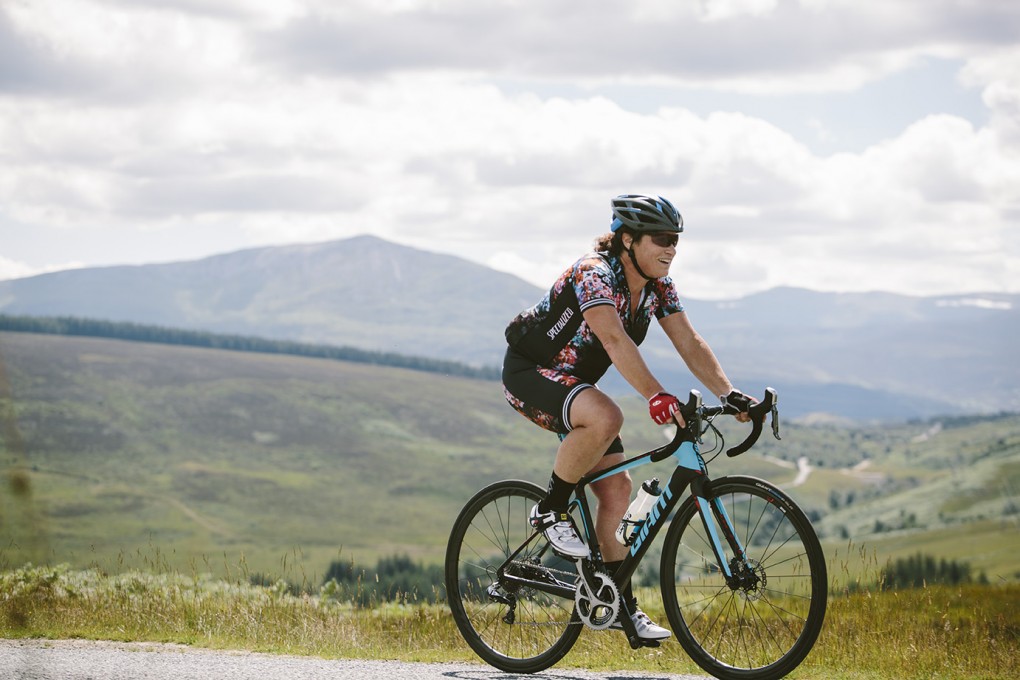
Buying your first road bike

Image: Evans Cycles

Step one – you probably need a bike. Walking in to a bike shop and being faced with a myriad of options can be intimidating, whilst discovering there’s nothing in your size if you’re on the smaller end of the scale can be downright frustrating.

We’ve got a detailed post here with all the information you need – but if you’re short on time, here’s the skinny:

  • Decide what you want the bike for: if you want to be able to go on rough canal paths or even off road, look for bikes with wider tyres or even cyclocross/adventure road bikes, if you’ll be commuting you may need pannier mounts, if you’re planning to race you want something lightweight (often carbon) with a more aggressive position.
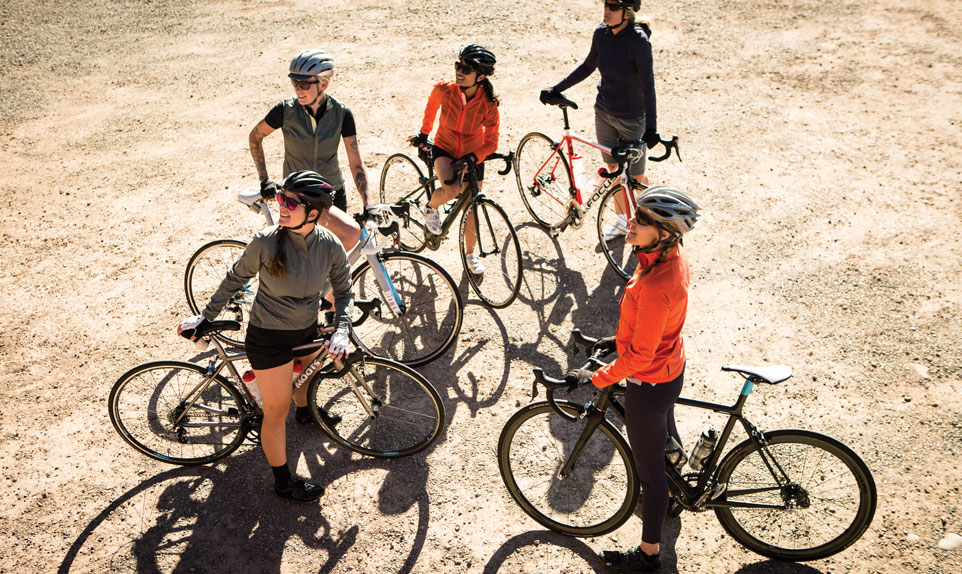
  • Don’t only look at women’s bikes, they suit some people, but some can be just as happy on a unisex bike – keep an open mind until you’ve done some test rides.
  • Decide how much you want to spend – often bikes come in ‘families’ – they share the same frame, but with different components at different price points. The more you spend, the better the quality of those components – often that means they will be more efficient or lighter.
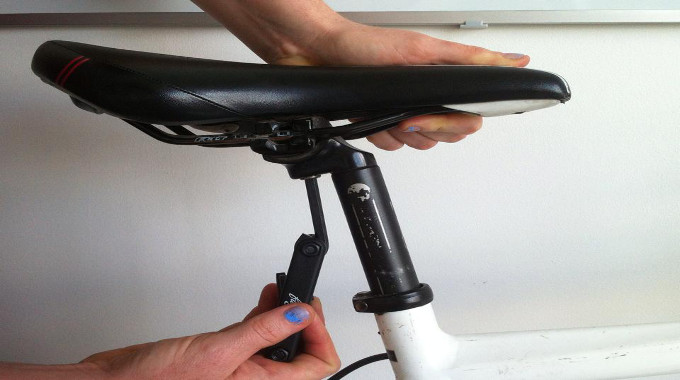
  • Once you’ve compiled a wish list, shop around (check out these 2016 bikes from £1,500 to get you started). Then find a local dealer who stocks the brands you like and ask them to order you one to test ride. If you’re between sizes, tell them this, and see if they can order both. Fit is so important and getting it right can be the difference between a lifelong love of cycling and a quick abandonment. Most local dealers will throw in a bike fit with the purchase, and this is something you should push for.
  • Do look at second hand bikes – find a bike that’s been well loved and cared for and you can get a great deal. Just remember to follow these tips to ensure the owner is who they say they are. 

Fitting the bike to you

Hopefully, you had your bike set up for you when you bought it. If not, it is worth looking into a proper bike fit. However, these can be upwards of £100 and if you’re just getting started you probably don’t want to add that to the bill.

The basic principles of a bike fit are:

  • Cleat position. This might not apply to you – if you’re using flat pedals ignore us, but a bike fit always starts at the feet – we think this guide is the most helpful. 
  • Saddle height. More often than not, beginners tend to have their saddle too low, this means the leg cannot extend fully, and this can result in pain on top of the knee. A saddle that is too high will cause the hips to rock, and can create lower back pain and hamstring aches. As a rule of thumb, you can set saddle height by leaning against a wall, placing one pedal in  the 6 o’clock position, and resting the ball of your foot on the pedal. If your leg is straight, but your hips do not rock, the saddle height is about right. If it’s bent, it’s too low, if your hips rock, it’s too high. There’s details and pictures here. 
  • Saddle fore/aft. This is a bit trickier. The rule of thumb is that with your feet at the 3 o’clock position, your knee should be over the ball of your foot. If it’s in front of it, the saddle needs to go back, behind it, and it should go forward. This is probably the best guide.
  • Handlebar position. Women’s bikes often come with narrower handlebars and shorter top tubes, or stems. If you have a unisex bike, you might need to change the handlebars and fit a shorter stem – but everyone is different. You’ll know if you need to make changes because you’ll feel that your arms are too wide on the handlebars (fit narrower bars), or that the handlebars are too far away (fit a shorter stem). There’s more on this here.
  • You should be able to comfortably reach the brakes and shifters. If not, these can be adjusted for you – ask at your local bike shop.  
  • Often, you’ll know something is wrong if you feel discomfort – we’ve got tips on the common issues  and what they often mean here. 
  • Be aware of saddle discomfort and saddle sores. It’s not something you have to put up with – with the right saddle you can indeed eliminate problems. However, finding a saddle you get on with does sometimes take some searching. We’ve written a lot about this, this is our most recent piece. 

Tyres and inner tubes and punctures

The most common maintenance issues for beginner road cyclists are around tyres – more specifically – keeping them inflated. The good news is that fixing a puncture really isn’t very difficult, it genuinely just takes practice.

  • Before you go out on a ride, read this guide about how to mend a puncture, and practice at home. This gives you the chance to get used to the process before you have to do it outside.
  • There are some factors – old tyres, tyres that are not pumped up high enough, and repair errors – that can cause you to get frequent punctures. We’ve listed them here so you know what to avoid. 
  • When it comes to pumping the tyres, it’s a good idea to do this at least once a week, and there will be a guideline on your tyre sidewall which tells you what pressure (PSI) range to aim for. There’s more information here. 
  • When you go out for a ride, you need to take puncture repair kit with you: a pump, tyre levers, and a spare tube as well as puncture repair patches.

What to wear

Photo: Lorna North

You don’t need ‘all the gear’ to ride a road bike – in fact you don’t even need to wear lycra if you don’t want to. However, the reason most cyclists choose to do so is because lycra generally makes for a more comfortable experience.

The items most of us do go for are:

  • Padded shorts. Wearing these can feel odd at first, but they do help to prevent saddle discomfort. You can opt for waist shorts or bibs (we think bibs are best!). If you’re not comfortable wearing tight lycra, you can get padded pants, and wear these with normal trousers over the top. In winter, you’ll probably want long tights, or you can wear your summer shorts with a layer over the top or leg warmers. Whatever you do, do not wear knickers under padded shorts, this undoes all the good work companies do when developing them.
  • Jersey. Cycling specific jerseys have pockets to store food and inner tubes, are fitted so they don’t flap around, and are made of quick drying material. They come in various fits, some brands (Endura, Altura, dhb) offer jerseys with a looser fit, whilst others (Castelli, Sportful, Ale) are might tighter. You don’t have to wear a cycling specific jersey, but if you choose not to, it’s best to wear a technical t-shirt that will wick sweat and keep you cool.
  • A base layer. This is there to wick sweat even more, and will help you regulate your body temperature.
  • Gloves. Braking and shifting gears with cold hands isn’t fun, which is why road cyclists often look hard for good winter gloves. In summer, roadies often wear mitts to protect their hands from numbness caused by road buzz or pressure. 
  • Helmet. You don’t need to spend a lot on a helmet, but it is a good idea to wear one to keep you safe.
  • Shorts, jersey, base layer, gloves and helmet are the basic requirements. Of course – there’s always more – most of it designed to help cyclists to ride comfortably in all weathers. We’ve got a list of good wet weather kit here, and autumn kit here – most of which applies in spring also.

Getting on the bike for the first time

This can indeed be nerve racking – as our mountain bike rider Jess Strange discovered when Chris Boardman showed her how it’s done. His advice was simple:

  • Find a traffic free stretch
  • Start with your hands on the hoods, holding the brakes as you swing a leg over
  • Have the bike in a low gear, and one pedal at the 3 o’clock position, so you have enough power to move off
  • Be aware of pot holes, slippery surfaces such as drains or tram lines, and gravel. Avoid them if possible, if not, hold the bike steady and don’t make sudden movements.
  • If riding alongside cars worries you, check out this piece for advice on road positioning, and dealing with traffic lights and junctions.

More advice on cycling over gravel

More advice on avoiding pot holes

More advice on tram lines and metal surfaces 

Shifting gears

Working out how to properly use your gears can be a struggle for a lot of beginner road cyclists. So much so, that our post on How to Use Your Gears Efficiently is pretty much our most popular article. It’s well worth checking it out as we explain which gears to use when, and how to avoid crossing the chain which can cause it to come off.

The way you shift will depend on the groupset you have – Shimano (the most common) is different to SRAM which is different to Campagnolo – we’re explained how each works here. 

The most common problems arise when shifting going up-hill – we also have a guide on this. However, the key take away is that on a climb you want a lower gear – that is the chain should be sitting on a small chainring, and a large rear cassette cog.

It is best to try to get into the correct chainring before the climb, as bikes don’t like you shifting between chainrings when the pedals are under load (but don’t worry, nothing bad will happen if you really have to do it, it’ll just go ‘clunk’). You’ll probably change the gears on the cassette as you climb. Try to keep changes smooth by making one at a time, and put less pressure on the pedals as you do so.

What to eat and drink

When you’re riding your bike you’re burning calories and sweating, which means if you’re riding for more than 90 minutes you do need to think about refuelling along the way.

You don’t have to eat sports nutrition products – most people just use them because they’re often low in fat, and easy to carry on the bike. We’ve looked at the pros and cons of normal food and energy products here. 

You generally need to consume carbohydrates when on the bike, protein after a ride if you need extra help recovering, and adding electrolytes to your drinks to help you keep well hydrated is a good idea. There’s an introductory guide here. 

We’ve got tons of recipe ideas for you – take a look at some of these:

6 Healthy Bites for the Bike

Recipe Collection: Fuelling Breakfasts

Quick Nutrition Tips for Time Crunched Cyclists

Riding clipped in, or ‘clipless’

Image by Listen Missy! via Flickr

You don’t need to ride with your shoes stuck to your pedals, but it helps! Riding ‘clipless’ (the name comes because pedals where you clip in replaced toe clips) means you get more from your pedal stroke, means your foot is less likely to slip, and means you can create a nice round circle with each revolution.

To ride clipless you’ll need pedals, shoes, and cleats that match the pedals – we’ve outlined the different pedal and cleat styles here. 

Mastering the system doesn’t need to be traumatic – we’ve got a detailed guide here, but the basics are:

  • Practice with your bike clamped to a turbo trainer , or leaning against a wall – clip in, and out, in, and out, until you feel happy with the process
  • Most pedals can be adjusted to make the tension looser – this gives more ‘float’, which means your feet will rock about a bit more, but will go more easily in and out of the pedals
  • Start somewhere quiet – ride around the block or on the grass in a park
  • The key thing to remember is to anticipate when you need to stop, and clip out beforehand. Slow speed crashes mostly happen because the rider has stopped suddenly and forgotten to unclip.

Cornering, climbing and descending

So, you’re comfortable on your bike, wearing kit  that feels great, riding clipped in and generally having a great time. Good!

Now is  the time to start working on some of the finer points of technique – the most common questions we get asked are around the big three:

  • Cornering: Preparing for a corner is half the battle. You don’t want to be braking or shifting through it, so slow your speed down before you hit the bend and get into a lower gear to help you power out of it. Hold your weight over the front end of the bike to keep it steady, ideally you should be on the drops. The most efficient way to enter a corner is to do so wide, hit the apex, then come out wide – taking the smoothest line possible. You can’t always do this if there are other people around you. There’s more advice here. 
  • Climbing: Gravity makes climbing hard, there’s no two ways about it. However, you can help yourself by preparing early – getting in to the right gear before the road ramps up, using any descent beforehand to pick up speed, monitoring your breathing to keep yourself steady, and keeping mentally positive. There’s more advice here. 
  • Descending: A lot less physical effort than climbing, descending can take mental courage. We’ve got some great tips from pro cyclist Emma Pooley here. Most of the skill is in where you place your weight – get into the drops, and lean with the bike to compensate for corners. Don’t cling on to the brakes, but feather them lightly to control your speed – and practice!
  • Once you’re at this level, you might also start noticing that the weather can have an adverse effect on riding. In that case, you might want to check out our advice for riding in a headwind, in a crosswind, and in the rain… 

Hopefully that covers off most of your initial questions, concerns and worries. Of course we’ve got much more advice – most of which you’ll find in our ‘road skills’ section.

It is worth noting that there is no substitute for practical experience and one-on-one advice – most of which you can get from joining a local cycling club. Cubs and club culture can seem daunting at first, but they really are all about encouraging more people to enjoy cycling, teaching skills, and providing a community. Check out these tips to help you out before your first club ride – we’re sure you won’t regret it. 

Newsletter Terms & Conditions

Please enter your email so we can keep you updated with news, features and the latest offers. If you are not interested you can unsubscribe at any time. We will never sell your data and you'll only get messages from us and our partners whose products and services we think you'll enjoy.

Read our full Privacy Policy as well as Terms & Conditions.

production