Share

Road Cycling

Mountie to Roadie: A Converts Trek Bike Fit

Having my MTB body fitted to a road bike with the Trek Precision Fit service

It’s the year of adventure in Wales where we’re encouraged to get outside, try new things and go in search of new sports, hobbies and well… adventure! 

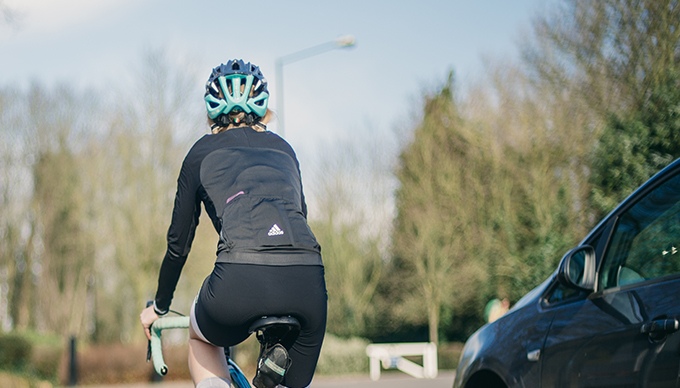
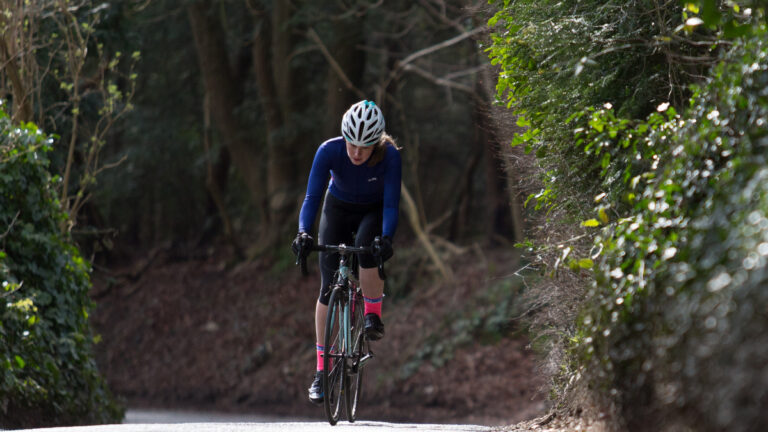
For me, I’m fortunate to live in an area which has so much natural beauty and outdoor activities to keep me busy all year round. With Bikepark Wales on my door step, and stunning landscapes to wind myself around, I’ve decided to venture out of my MTB comfort zone and experience the smooth undulating world of road cycling for my year of adventure.

Whilst there’s an unspoken and unofficial rivalry between Roadies and Mounties in the cycling world, I’ve decided to dabble with skinny wheels after learning the multitude of benefits that can be gained, and how they can translate to my mountain bike life.

Here’s why you should vary your discipline

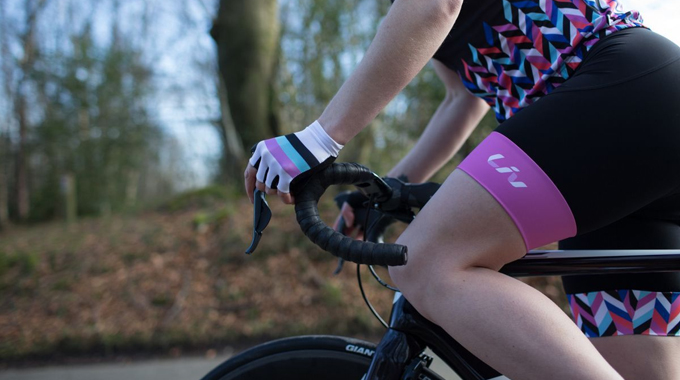
Thinking that road cycling would be as easy as “riding a bike”, I was wonderfully naive to the reality of it all. Firstly, I was quick to learn that wearing baggies is totally unacceptable, on all accounts, although I think managed to sneak away using my DMR flat pedals and my comfortable Vans for pedalling in.

Strategically cropped out feet

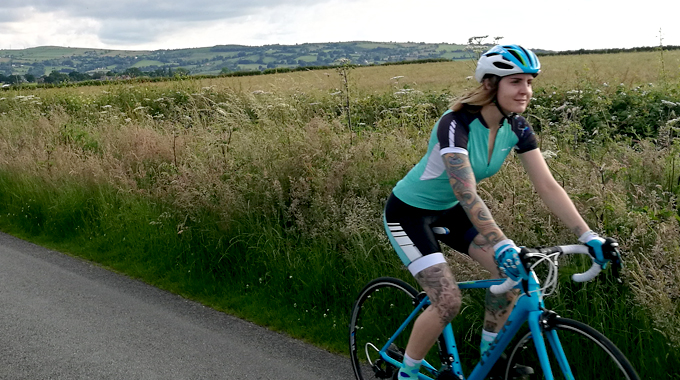
Secondly, I’ve been warned that tan lines must be kept razor sharp and well maintained. A summer dress nightmare, if you ask me.

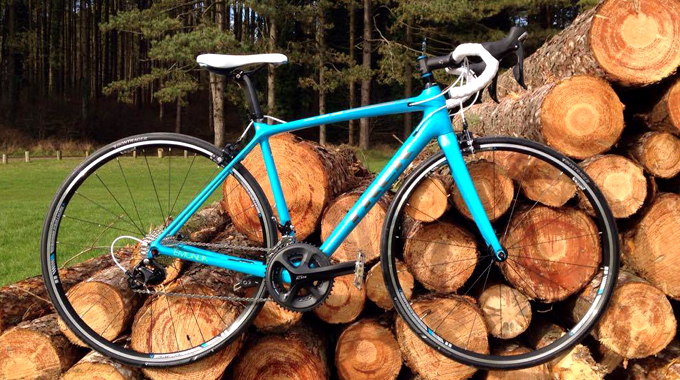
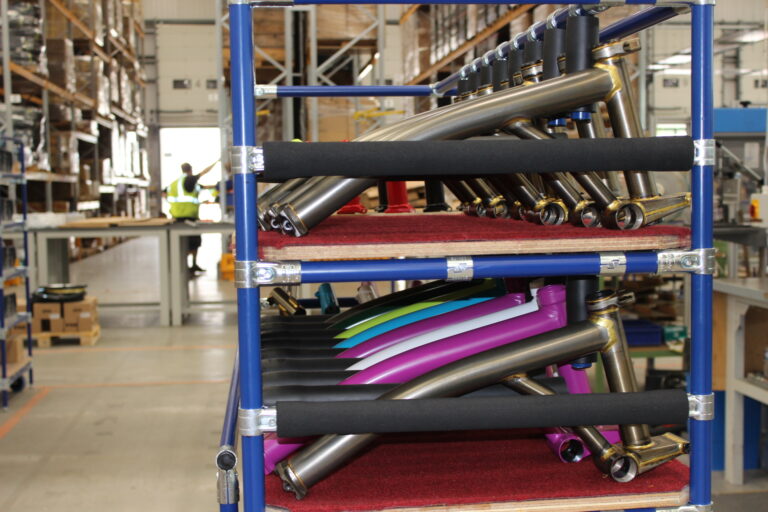
Having my Roadie approved Lycra bandit kit sorted out, but still unsure of the road cycling rules, etiquette and appropriate footwear, I figured it be best to start with the bike itself.

Save

Save

Save

Save

Save

Save

Save

Save

Save

Save

Save

Save

Save

Save

Save

Save

Save

Save

Save

Save

Save

Save

Save

Save

Save

Save

Save

Save

Save

Save

Save

Save

Save

Save

Save

Save

Save

Save

Save

Save

My Road Cycling Companion: Trek Emonda SL 5

Isn’t she a beauty

Without having to consider suspension, travel, dropper posts and disc brakes, I was pretty clueless as to what road bike would suit me best.

If you’re a little clueless too, check out our bike buying guide

Fortunately I work with some pretty knowledgeable and experienced road cyclists who were happy to put me on the right buying path. That path led me to the Trek Emonda SL 5, and frankly, it was love at first sight.

Knowing the brand from my MTB background, I was confident in the quality and service I would receive from Trek bikes. Their efforts to develop functional, stylish and high performance bikes has been impressive, and having done some research – and loving the blue colour – I went for it.

When the Emonda arrived at my front door, I was suddenly aware that I didn’t know what I was doing. Unlike a mountain bike where you’re riding in a dynamic position, sifting your body weight and moving around the bike, a road bike requires a fairly static position. When it came to the bars and saddle, admittedly, I popped them on, tightened them up and began riding without really knowing if the bike actually fitted me. It was time for a bike fit.

Save

Save

Save

Save

Save

Save

Save

Save

Save

Save

Save

Save

Save

Save

Save

Save

Save

Save

Save

Save

Save

Save

Save

Save

Save

Save

Save

Save

Save

Save

Save

Save

Save

Save

Save

Save

Save

Bike Fit: Introduction

My Trek Emonda and I headed down to County Cycles, my local bike shop, where they offer a wide selection of bikes, kit, advice and not to mention a healthy and tasty café. They’re also one of the few stores in the UK to have a dedicated area for bike fits with the Trek Precision Fit set-up.

Trek believes that the bike should fit to the rider and not the other way around. Having a well fitting bike is essential for performance and comfort, as I was about to find out.

The Trek Precision Fit takes approximately 2 hours from start to finish, and it all begins with a consultation. Kitted in my Lycra attire, with a brew in one hand and a delicious home-made treat from the Café in the other, we began.

Starting off with the basics: Gender – Age – Height – Weight – Frequency of Exercise etc… it was important to establish what I wanted to gain from the Bike Fit, and where I wanted to take my riding. This would establish factors such as comfort fit, race fit and even saddle type.

How you can get the most from your bike fit

Being someone who likes to jump in at the deep end of things, I explained to my expert fitter that I wanted to build up my endurance on the road bike, enter some sportives and who knows, maybe dabble in more competitive events in the future.

We discussed previous injuries which I would later learn play a key role in getting set up correctly on the bike. Being a former cross-country runner and martial artist, I’ve developed some serious cartilage wear in my right knee. Whilst not being a big inconvenience on the bike, it is noticeably weaker than my left knee.

With the basics covered, it was time to pull out the rulers and start measuring me up.


Save

Save

Save

Save

Save

Save

Save

Save

Save

Save

Save

Save

Save

Save

Save

Save

Save

Save

Save

Save

Save

Save

Save

Save

Save

Save

Save

Save

Save

Save

Save

Save

Save

Bike Fit: Measurements

It goes without saying that taking accurate body measurements are essential for getting the right bike for you.

Starting at my feet, I had not only my limb lengths and inseam measured,  but flexibility and core strength assessed as well.

I learnt that your feet play a key roll in cycling, and it’s more than just from a contact point perspective. Having weak arches in your feet will cause them to collapse on the down-stroke, with your arches collapsing, you knee will track that movement and fall inwards as well.

Clearly need to work on my flexibility

The Sacrum angle is measured by crossing your arms over your chest and falling forward to let your arms hang naturally. A device is placed on the lower back to measure the angle from your body to the floor. This measurement is important for roughing out a suitable saddle height.

The flexibility of the body helps determine what range of motion you can get away with on the bike without causing yourself harm. Saddle height, angle and distance from the headset are equally important and worked out through these measurements.

Save

Save

Save

Save

Save

Save

Save

Save

Save

Save

Save

Save

Save

Save

Save

Save

Save

Save

Save

Save

Save

Save

Save

Save

Save

Save

Save

Save

Save

Hamstring flexibility
Hip flexibility

We determined that my hip flexibility was very good, as was my left hamstring. However, my right hamstring is significantly tighter than the left, owing to my ongoing knee malfunction. Because of this tightness, I was advised that my saddle should be lowered to prevent over stretching my hamstring.

Video: Hamstring Stretches for Cyclists

With that in mind, we moved onto the shoulders which were measured to ensure the width of the bars were suitable. My shoulder width measures at 38cm which is within the realms of normality – phew.

With all my measurements and details loaded into the Trek Precision Fit computer, it was time to jump on the turbo with the estimated fit size, and begin the tweaking procedure.

The Bike Fit and Coaching

It’s at the point that I should mention that I didn’t manage get away with my Vans and DMR pedal combo. It was time to put on my big girl pants, and dive into the cleats.

A Beginner’s Guide to Clipping-In

Figuring I would eventually have to make the conversion at some point, it seemed appropriate to have the Trek Emonda set up with cleats, rather than with flats. The difference lies in your foot position on the pedal, the subsequent effect on your down-stroke efficiency and power, and not looking like a total clueless doofus when cycling on the roads.

Save

Save

Save

Save

Save

Save

Save

Save

Save

Save

Save

Save

Save

Save

Save

Save

Save

Save

Save

Save

Save

With the exception of my right hamstring, my measurements were near perfect for balance, level and for being within the normal realms of body proportions.

With my cleats on, I climb aboard the turbo and began to pedal under the watchful eye of the expert fitter. Feeling a little self-conscious that I was under such scrutiny, I awaited further instruction.

Within a few moments it was clear, my near perfect body measurements meant nothing on the bike. My hips showed too much movement, my right knee collapsed in when I pedalled, my shoulders were poorly positioned, and I had a tendency to dip my toes through down-strokes, which effectively made me look like a fairy.

Save

Save

Save

Save

Save

Save

Save

Save

Save

Save

Save

Save

Save

Save

Save

Save

I was most uncomfortable with the saddle on the turbo. It was extremely hard and upward tilted, so I felt that I couldn’t put any pressure down there, otherwise I’d risk adopting a rather embarrassing John Wayne style of walking.

How to choose the right saddle for you

Having carefully and very eloquently explained this to my male fitter, “It hurts my foof”, we swapped the saddle for something a little more forgiving. With a happier undercarriage, I was able to tilt my pelvis slightly forward and straighten my back out to a more suitable position.

With a variety of lasers and what looked like giant protractors, I had my riding position systematically adjusted and corrected until I resembled someone who looks like they know how to ride a road bike.

The small saddle changes, foot positioning and height changes began to manipulate my once mangled body. The key obstacle for me to overcome wasn’t so much with the bike set up, but with my body position. Cycling involves heavy engagement with your core muscles, so much so that you should carry your weight in your core and remain light on the bars, something I wasn’t doing very well.

More information about core strength and exercises here

Under expert tutelage, I learnt how to hold my body over the bike, engage my core effectively and feel the effect it had on my power and performance when cycling.

Having everything measured from head to toe, my position, flexibility and technique analysed, I’ve come away with a brain overload of information and tips which I now can’t wait to try out. My Trek Emonda has been tweaked to reflect my bike fit, and while I’m still nervous about clipping in, I feel more confident knowing that I’m set up correctly to learn.

Before: mangled body – and – After: road pro

Save

Save

Save

Save

Save

Save

Save

Save

Save

Save

Save

Save

Verdict

My Trek Precision Fit with the guys at County Cycles was a brilliant experience and one that I feel really helped me to understand more about road cycling, and the demands it requires from the body and mind.

A Bike Fit can cost anywhere from £120 – £250, depending on the level of detail you want, and your cycling goals. For many stores, you’ll pay for your first fit and small alterations will be free thereafter.

Because I hope to ride more, get fitter and more flexible, my bike fit measurements will change again in the future, so I’ll be going back for a check up as my body adapts to skinny wheels and tarmac.

It’s really important you ensure the bike you’re buying is fit for purpose, and fit for you. It’s easy to buy online, assemble the bike yourself and get pedalling, but take it from me, learning more about your body on the bike is valuable to help you perform your best and help prevent injury.

You may also enjoy:

A Mountie Convert’s Review of Madison Road Kit

Newsletter Terms & Conditions

Please enter your email so we can keep you updated with news, features and the latest offers. If you are not interested you can unsubscribe at any time. We will never sell your data and you'll only get messages from us and our partners whose products and services we think you'll enjoy.

Read our full Privacy Policy as well as Terms & Conditions.

production