Share

Training & Nutrition

Recipe: 15 Minute Quesadillas

Enjoy a mega quick lunch with these Mexican beauties...

Last week we published our 15 Minute Mini Omlette Muffin recipe and the general feedback was that you guys loved them – so here we are with another super quick but nutritious meal.

These Mexican treats could probably actually be made in ten minutes – but during the extra five you can perfect your pronunciation of ‘Quesadilla’ (use this for reference).

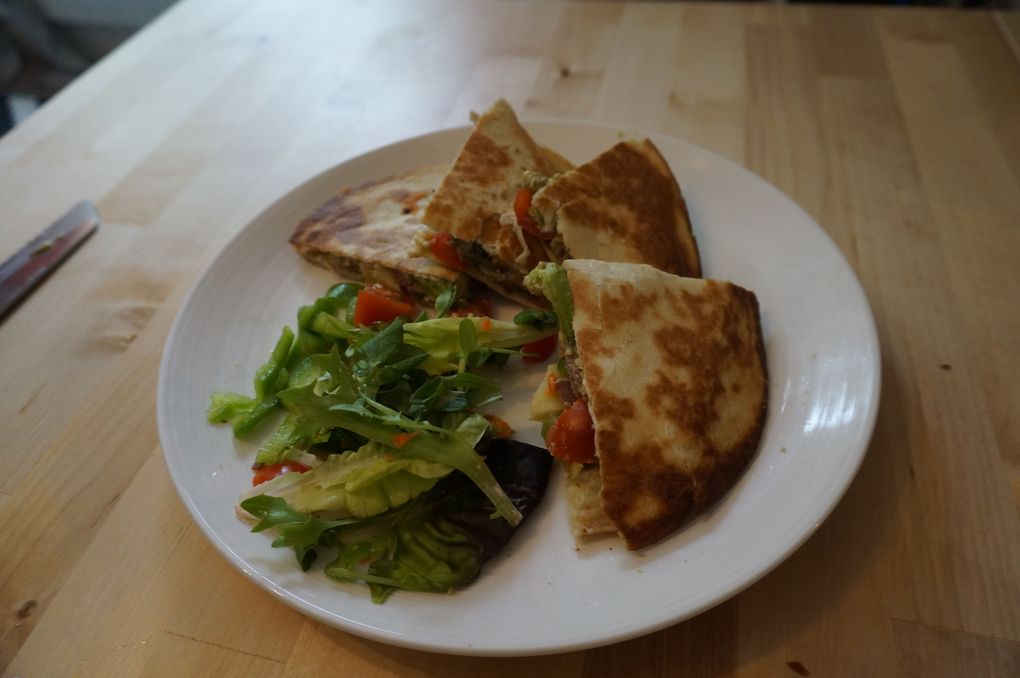
This is a lovely filling meal that would be ideal for lunch, when you want to ensure hunger doesn’t start knocking on your door at 3pm. The avocado in particular will keep you satiated, thanks to the monounsaturated fat, which is the good type of fat that lowers bad cholesterol, whilst cooked meat and cheese provide healthy protein.

For this recipe you will need:

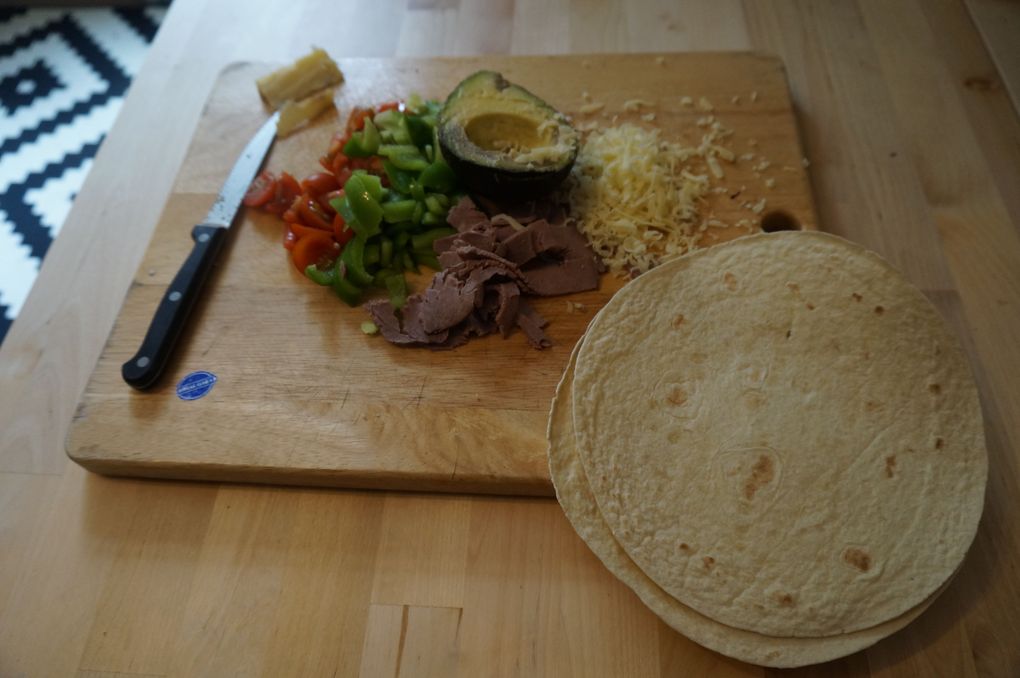
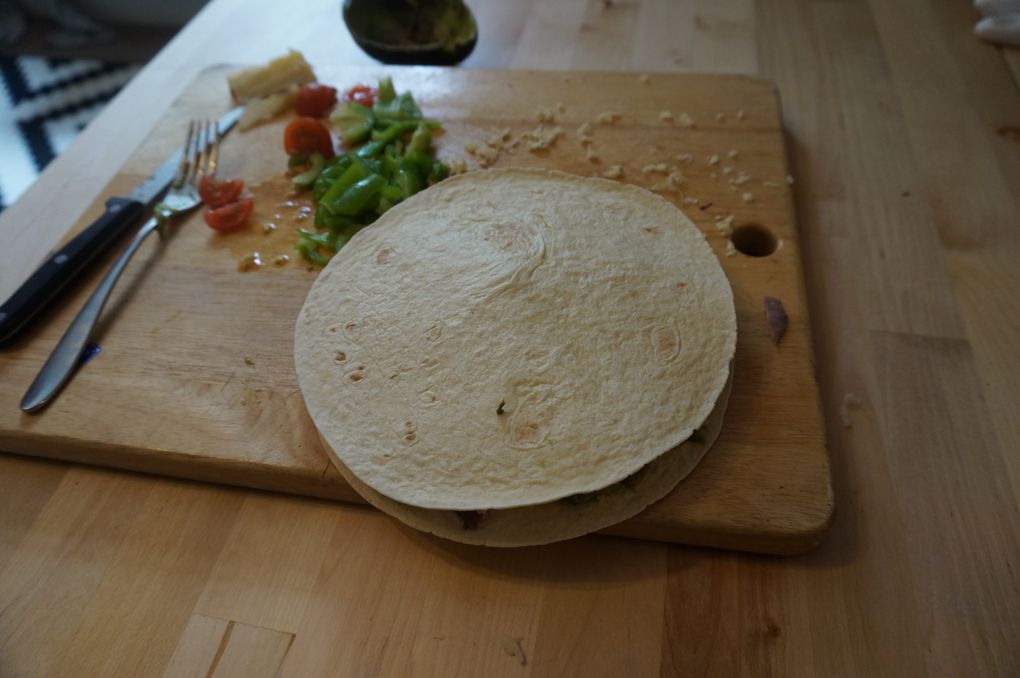
  • Two tortilla wraps – if you follow a gluten free diet, you can use gluten free wraps. If you’re not that hungry, go for one wrap, and only fill half of it before folding
  • Cheese
  • Cooking oil
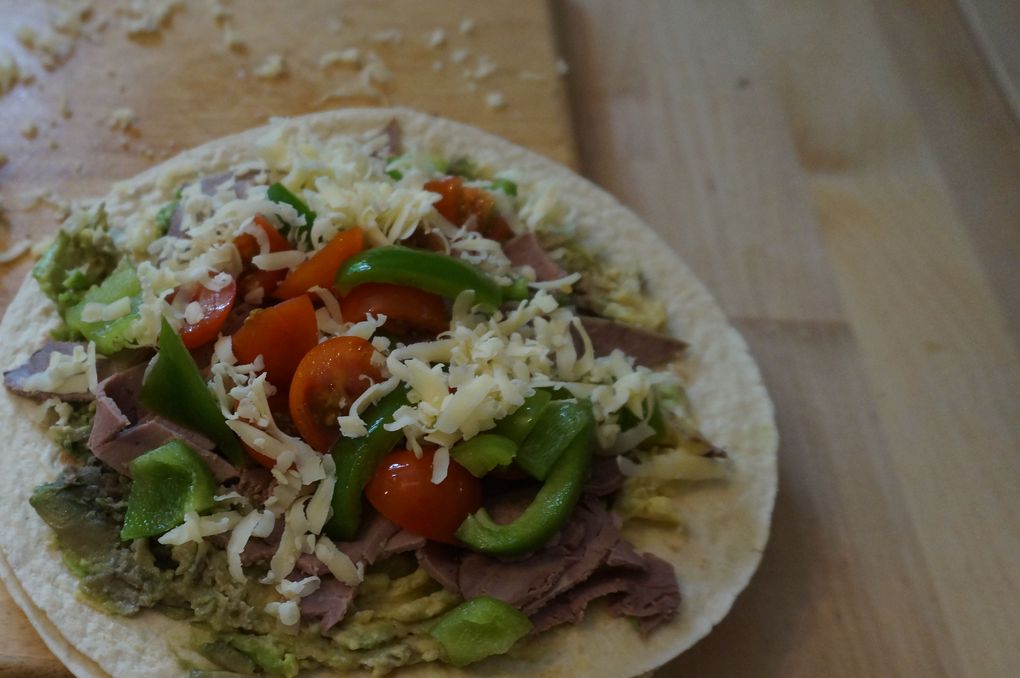
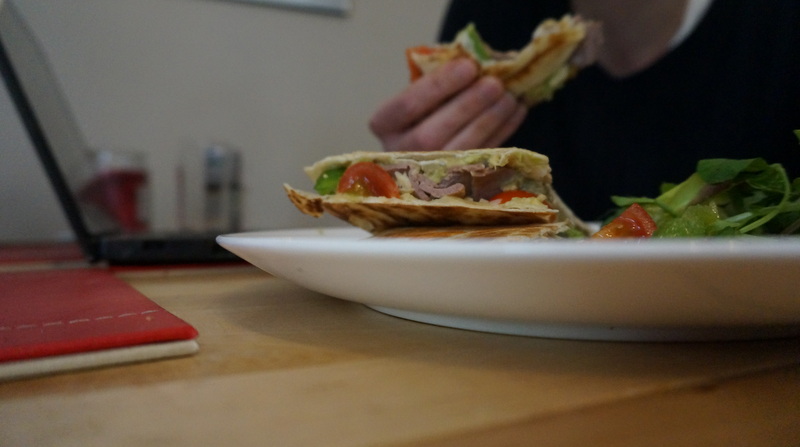
  • Filling – we used avocado, cooked beef, tomatoes, and peppers. Tofu, halloumi or beans would work well for veggies

Step One – Spread heavier fillings

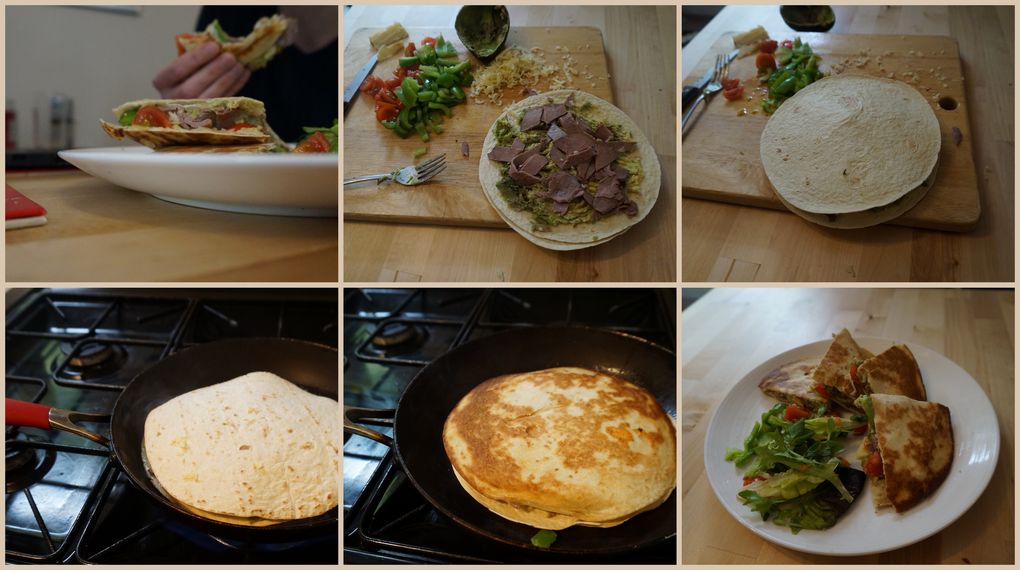
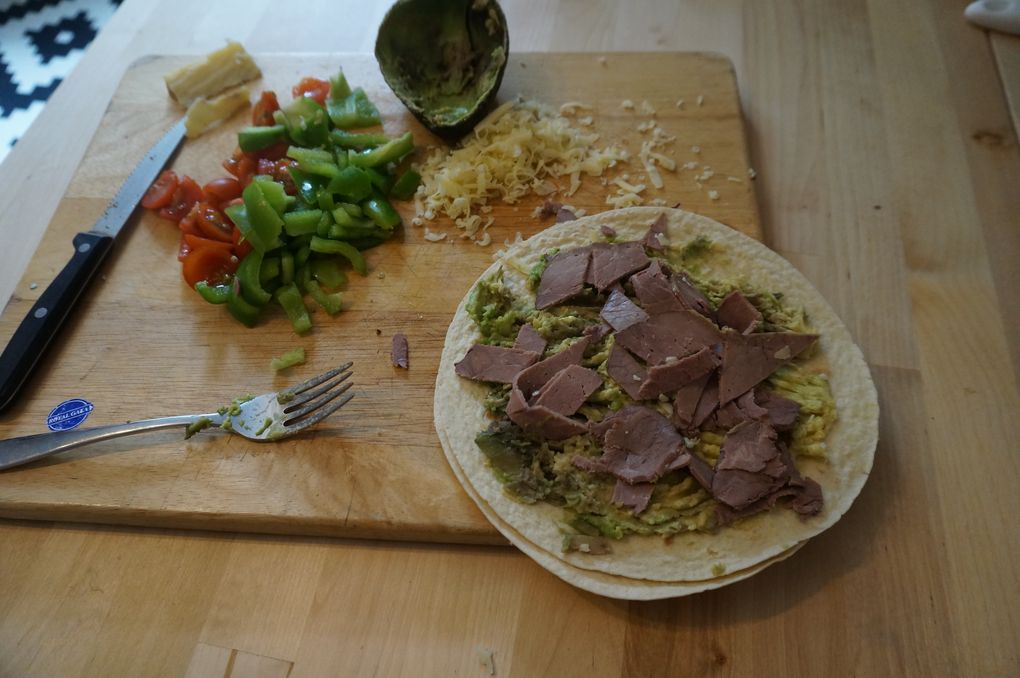
Load your first tortilla wrap with avocado and cooked meat, or perhaps tofu, halloumi or beans if you’re a veggie

Step Two – Add veg and cheese

Pile on the other ingredients. Don’t go too wild, your toppings shouldn’t be more than around 2cm high, or everything will simply fall out the side…

Step Three – Place another wrap on top

That’s easy enough. If you’re not that hungry, then simply only fill one half of the wrap, and then fold it in half.

At this point, add cooking oil (olive oil, butter or coconut oil – we used coconut oil which provided a really lovely nutty taste) to a pan and heat it up.

Only use a teaspoon of oil – too much and your quesadillas will turn soggy. Not nice.

Step Four – Carefully place the wrap(s) in the pan

Try not to lose the filling out the side as you place your lunch-to-be into the pan. When the wrap starts to crackle, use a spatula to check it’s brown on the other side, and then flip (gently).

Step Five – Cook the other side

Yes, a little slice of green pepper fell out, though on the whole we thought we did rather well.

Step Six – Cut with a sharp knife and enjoy

You do need a sharp knife, and should aim to cut decisively so as not to allow the two halves to separate. Serve with salad, veg, or just enjoy on their own!

We hope you enjoyed this one.  For more inventive ideas, check out these eight lunch box suggestions…

Share

Newsletter Terms & Conditions

Please enter your email so we can keep you updated with news, features and the latest offers. If you are not interested you can unsubscribe at any time. We will never sell your data and you'll only get messages from us and our partners whose products and services we think you'll enjoy.

Read our full Privacy Policy as well as Terms & Conditions.

production