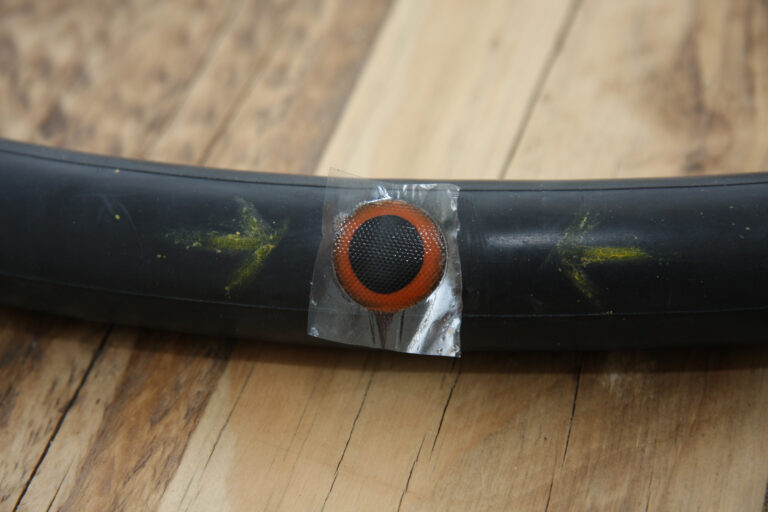
Got a puncture? Tyres soft and flat? That sounds like a puncture. Here’s how to remove and replace the inner tube that sits under the tyre itself.
First though, check you haven’t just got a soft tyre by pumping them up. We explain how in our Beginners Guide to Pumping Your Tyres article.
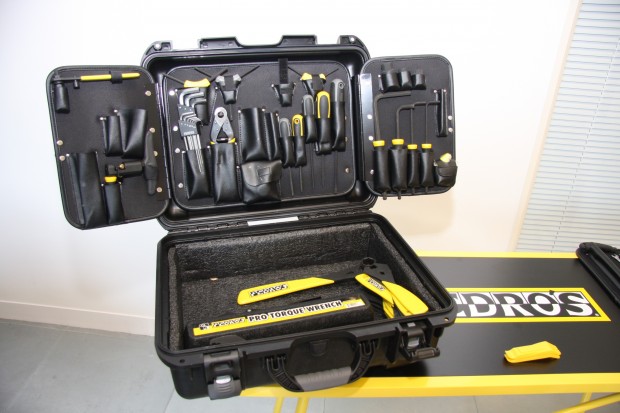
If you get a puncture while out on your bike, it’s quicker and easier to just replace the inner tube, rather than faff on trying to patch it up. From experience, we’ve found it’s never a wise idea to wait for a puncture; it’s best to practise the technique at home. Some tyre and tube combinations can be quite tight, needing thumbs of steel, don’t give up, persevere and you’ll get there in the end.
Tools needed:
2 x tyre lever
1 x mini OR floor pump
1 x new inner tube
Removing wheel
- If you’ve suffered a rear flat, shift your gears to the outermost gear at the back and innermost at the front to make it easier to get the wheel off.
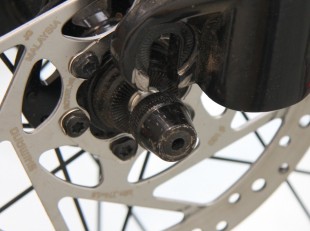
- If you’ve got v-brakes release them before removing your wheel. This is not something to worry about if you run disc brakes.
-

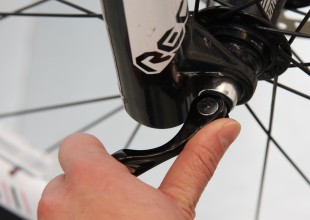
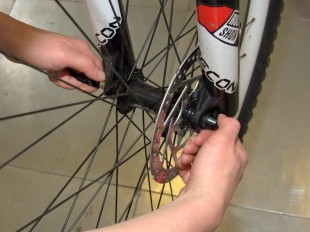
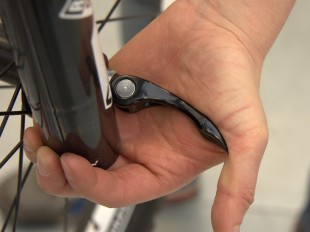
Release quick-release skewer by pulling outward on the lever. Once open, use your other hand to unscrew the nut so it clears the lips on the fork. Releasing tension in the skewer helps drop the wheel cleanly from the forks -

To remove front wheel, guide it straight down out of fork. For rear wheels, pull rear derailleur back to keep chain clear of cogs. Guide wheel both down and forward.
Accessing punctured inner tube
-

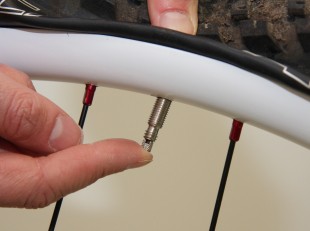
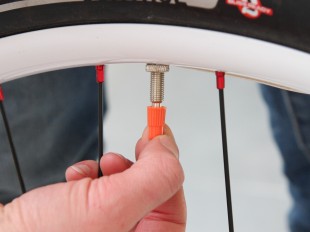
With wheel separated from bike, deflate tyre. Remove dust cap and lock ring. Unscrew and then press tip of Presta valve to ensure all air is removed from the inner tube. - Use thumbs to push bead of tyre towards centre of rim. Loosening the bead will make it easier to use tyre levers.
-

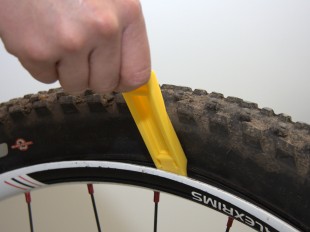
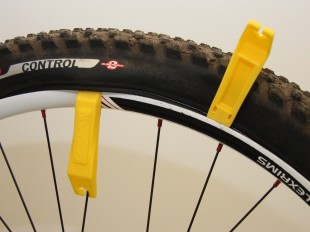
Get tyre lever aligned with spoke. Scoop tyre lever under bead. Once engaged, push down on lever to lift tyre over rim - With end of tyre lever under bead, affix lever to spoke.
-

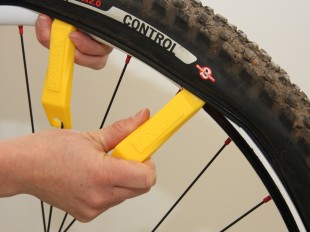
Scoop second tyre lever under loosened bead next to first. -

Once second lever is between the rim and loosened bead, use a fluid movement to slide it all the way round to completely remove bead from rim.
Removing punctured inner tube
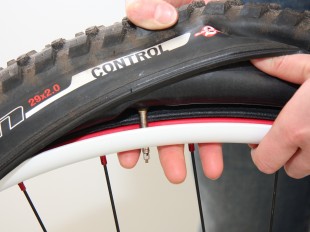
- Remove valve of inner tube from valve hole.
-

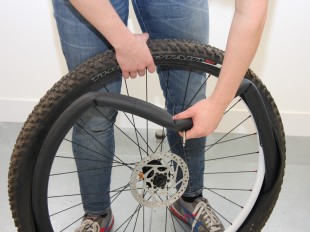
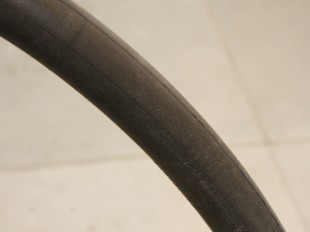
Pull inner tube completely out of tyre. -

Cast an eye over outside of tyre and use fingers to inspect inside for cause of puncture. Alternatively, always stash a bit of cotton wool in your jersey pocket, so you can run that around the inside – it will snag when it catches on the sharp item, instead of hurting your finger.
Installing new inner tube
- Remove dust cap, lock ring and unscrew Presta valve tip on new inner tube.
-

Use pump to inflate inner tube so it holds its shape. -

Insert inner tube valve into valve hole and screw on lock ring. If valve is not pointing straight it can lead to a puncture. - Place the rest of inner tube inside tyre.
Re-installing tyre
-

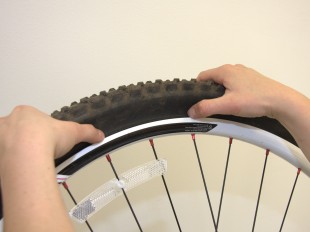
Start at valve, begin to push bead of tyre over lip of rim. - Continue pushing bead over rim. This is easier with some tyre/rim combinations than others. If your combination is tight, push tyre bead into middle channel of rim to create some slack.
-

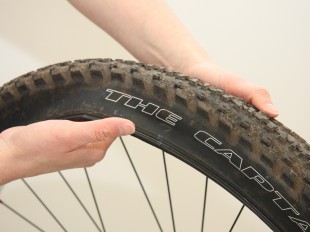
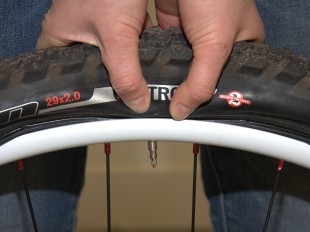
Use thumbs to ease final section of bead over rim (this will need strong thumbs and may involve swearing). - Once bead is over rim, check both sides of tyre to ensure no inner tube is poking out. If so, remove tyre and start from step 18.
Inflating
-

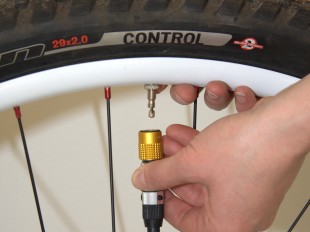
Connect pump to inner tube valve. If struggling to connect, press down on tyre to push valve fully through valve hole. -

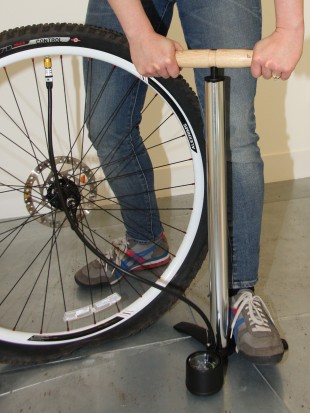
Inflate inner tube to pressure noted on sidewall of tube. -

Once inflated, ensure lock nut is screwed right up to rim wall, Presta valve tip is shut and dust cap is back on.
Re-installing wheel
- Ensure quick-release skewer is unwound and brakes are still open.
-

To re-install rear wheel, get chain clear by pulling back rear derailleur. Put smallest cog on wheel in between top and bottom of chain. Guide wheel back and up into dropouts, ensuring disc brakes are aligned if you use them. For front, guide wheel up into the dropouts. - Hold quick release lever open, opposite its final closed resting place.
- Use other hand to tighten nut, stop when you can feel resistance on quick release lever.
-

Close quick release lever. - Remember to re-connect your brakes.
Go forth and repair!
How did we do?
As this is the first in our How to series, we’re keen to get your feedback. In the comments section below we’d love to here how you got on following this guide.
Jargon Buster
Demystifying the technical vocab of the cycling world.
Inner tube: Separate inflatable tube that goes inside your tyre.
Presta valve: Type of valve on inner tube. A thin valve, with screw-in tip, means high pressures can be achieved and maintained.
Schraeder valve: Type of valve on inner tube, also the same as found on cars. A wide valve, predominately reserved for mountain biking, with pin in the centre to release air.
Quick-release wheels: A mechanism that allows you to remove wheels without the need for tools. A skewer runs through the axle, with a lever one end and nut the other.
Spokes: Thin poles or blades on your wheels that connect the rim to the hub.
Spoke nipples: Special nuts usually found connecting the spoke to the rim. It helps to adjust the tension of the spoke.
Lock ring: A ring that screws on the threads of the inner tube valve. Once the valve has been inserted through the rim, the lock ring holds valve in place, preventing movement.
Rear derailleur: A mechanism that moves the chain between sprockets to give a range of gears.
Sprockets: Toothed discs that the chain run on to drive the rear wheel.
Bead: Metal or Kevlar wire found in tyre. Holds tyre to the rim.
V-brakes: A brake that acts on the rim. V-brakes have two nearly vertical arms that mount on pivots on the frame and are pulled together with a brake cable across the top.
Rim: Outer part of the wheel, where the tyre mounts.
Liked this? Why not also read:
How to Choose the Perfect Saddle
How to Prepare for a Long Distance Cycling Event
How to Pump up your Bicycle Tyres

