Share

Road Cycling Buying Guides

How to Get the Most From Your Bike Fit

You're splashing out on a bike fit - make sure you get the best from it

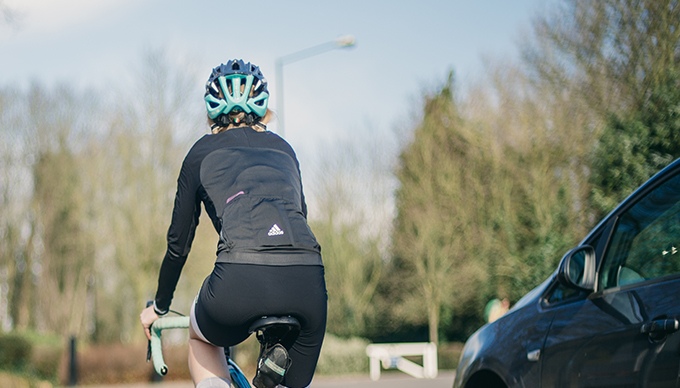
Deciding to pay-up for a professional bike fit can take some convincing – after all, you’ll be handing over a wodge of cash only to walk out with exactly the same bike with the saddle and handlebars in a slightly different position. However, I’ve yet to hear a cyclist fitted by a qualified professional lament the decision.

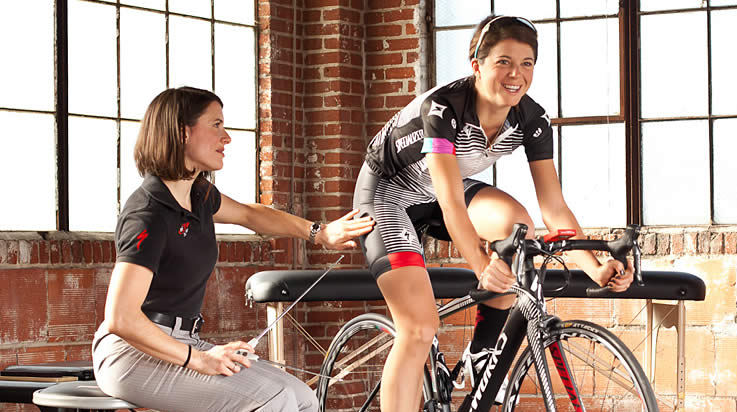
A professional bike fit can make a huge difference to your riding – either removing niggles that had been bothering you for an age or increasing your performance by allowing you to utilise the right muscles.

4 Reasons to Get a Bike Fit

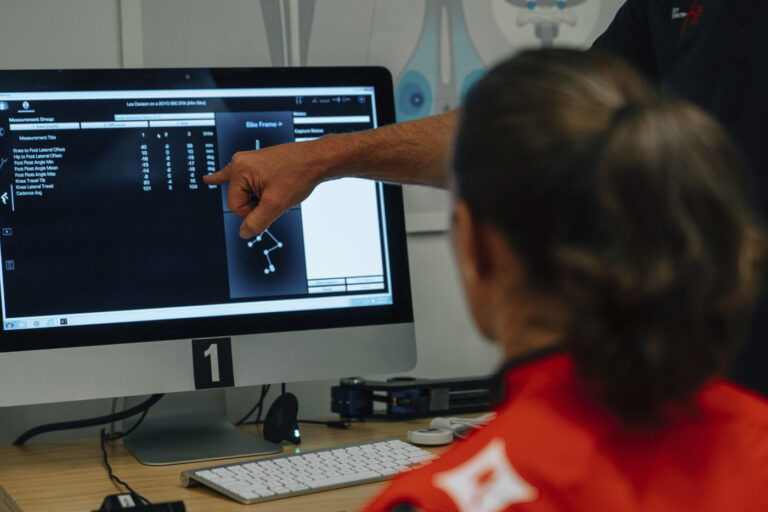
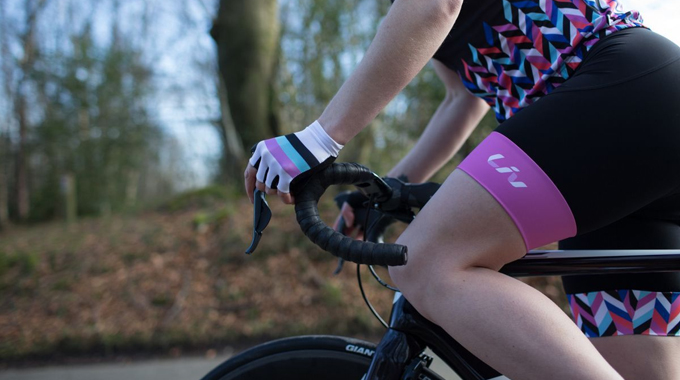
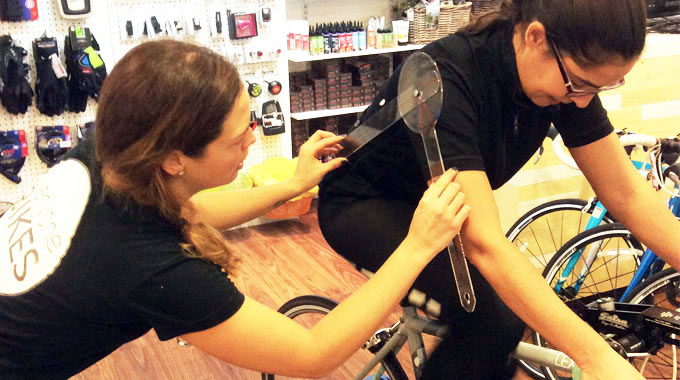
Though it’s possible to get yourself in a ‘safe and sensible’ position with a friend, a tape measure and a turbo, a professional fitter will have tailored hundreds of bikes to riders and can spot the tiny nuances such as a dropping heel or a pedal stroke that isn’t round and therefore lacks power.

However, a bike fit is a two way process – the fitter isn’t a mind reader or a magician and can only work with what you tell them and the feedback you provide. Since you’ll be paying cold, hard cash for the experience, you’ll want to get the most from it – here are some tips to help ensure you walk out with a fit you’re happy with…

Choose the right fitter

There are plenty of bike shops and clinics offering bike fitting – and they’ll need qualifications to offer the service, but do check them out to make sure you’re getting someone who knows their stuff.

It is a good idea to go to a local bike shop or clinic – firstly, it’s more likely you’ve got a good relationship with the people who work there and they already know your riding style, volume and goals. If not, it’s a good chance to get to know them. That, and this will give you the opportunity to go back easily in the future if you buy a new bike, or feel something isn’t right.

The qualifications your fitter has probably depend on where they’ve worked – Retul and CycleFit are the two really big hitters but there are other industry standards that are perfectly respectable.

Word of mouth is a useful indicator of a good bike fitter – assuming you’re visiting a local shop or business, ask around the cycling community to find out if other people have had good experiences.

Bike fits can be carried out on a simple turbo trainer, or on a ‘rig’ that will be adjusted using a remote control so your fitter can gradually make changes and watch as you pedal. They may use lasers or cameras to measure the angles of your arms and legs as you ride, and they might offer you video feedback so you can see the changes made. The more you ride and the more important performance is to you, the more technology you may want – and the more this will cost. The extras are nice to have – but bear in mind that a good bike fitter with a lot of experience can send you out the door with a very good set up, without the gizmos.

Getting fitted on N+1? 

If you have multiple bikes, make sure you’ve agreed an approach. It’s not a good idea to do all your winter training on a bike that’s fitted correctly, then hop onto a summer race bike that isn’t, and vice versa.

A large portion of the actual bike fit process will revolve around assessing cleat position, your flexibility and any clear weaknesses. Therefore, it’s not too difficult to offer you a full fit on one bike, then a quicker set-up on your other bikes. Alternatively, you can have the fit on one bike, and take measurements to transfer to other bikes – but really an expert’s opinion would be beneficial as different disciplines have their own requirements.

Make sure your fitter has a good understanding of your discipline – a road bike fit is very different to the kind of position you’d want on a time trial bike so ensure they have experience in your discipline.

Take shoes and shorts you’ll use

So you’ve chosen your bike fitter, and you’re ready to check-in. Your fit will be carried out with you wearing cycling kit so that the set-up you leave with will work when you get out on the road.

It sounds a bit pernickety – but things like the extra padding in your shorts and the make of your cycling shoes can make a slight difference. Obviously, you’ll ride your bike wearing different shorts – but it’s a good idea to go in a fairly ‘standard’ pair rather than one with a thicker or thinner pad. Shoes are an item you change less often, so absolutely take your normal shoes to go with your pedals.

Know what to expect

Fitting process will vary – but it’s reasonable to expect you’ll go through the following stages:

  • Introduction to you and your riding: What are your aims, what sort of mileage are you covering, have you had any recent or long term injuries or niggles?
  • Cleat fitting: The cleats dictate the rest of the pedal stroke – your fitter will make sure they’re in the correct position on your shoe for your feet.
  • Flexibility test: How flexible you are – your hamstrings and back in particular – makes a difference to the sort of position your body can adopt on the bike so this will be tested to determine what kind of saddle to bar drop you will be able to have
  • Measurements: To get an idea of saddle height, your inside leg and height will be measured – but often this only tells a fraction of the story so more changes will be made. You might also have your shoulders measured to check what handlebar width you should have.
  • Saddle height: You’ll jump on the bike and pedal – then the height will be adjusted
  • Saddle fore-aft: Once the height is correct, the fitter will look at the position of the saddle on the rails to ensure your knee is in the correct position
  • Front end: Once the saddle is in the correct position, the fitter can look at the front end – handlebars, stem, shifters and drop to the bars

Be honest

Your fitter will want to discuss your goals and the amount of riding you’re doing on average each week, so make sure you know you’ll be able to answer these questions and answer as honestly as you can.

Saddle discomfort is a major issue for many female cyclists – and though you might feel uncomfortable discussing it, you do need to do so if it’s an area that’s bothering you. Your fitter should be used to discussing issues around both rear and and soft tissue discomfort – think of it a bit like going to the doctor – they’ve heard it all before.

How to Choose a Saddle

Once you actually get onto the bike, the fitter will need your feedback – does the pedal stroke feel comfortable? Do you feel more powerful after this change is made? Are you confident you can reach the brakes comfortably in this position?

Though some questions might be subjective and hard to answer, do your best – take your time whilst pedalling and try to listen to your body. Don’t worry about offending your fitter by telling them something they’ve done doesn’t seem to work. They want you to ride away happy, so feel confident and speaking up if you’re not sure. It may be that there’s a valid reason for a change, and they’ll explain it if you ask, or it could be that they’ve not got it quite right for you and they’ll make another change.

Listen

Though you do need to be vocal if something feels wrong – accept that you’ve paid a professional to tell you what’s right and that they have more experience than you. Initially, a new fit might feel odd, but that’s only natural if you’ve been in the wrong position for some time. If you’ve told them it feels strange, and they’ve confirmed it should do, but that this is the right option for you, then trust their opinion and give it a go.

If you’re really worried something isn’t right, check that they’ll let you bring the bike back for a reassessment if it still feels wrong after a few rides – this should be a standard offering as part of a bike fit as it can take a while to let changes ‘bed in’.

Test and tweak

The next step is to ride away with your newly fitted bike – and give the adjustments a try. Be ready for your bike to feel a little bit weird initially, this is normal and it might last for a few weeks.

However, if you feel any immediate pains, make sure you pop back and ask for advice before allowing anything to develop if there has been a mistake – though with a good fitter this is unlikely.

Hopefully, after a few rides, you’ll start to gel with your new set up. However, if you’ve any concerns, go back and ask for advice and clarification.

Want to do some DIY bike fitting? Check out these posts.. 

Common Niggles and Bike Fit Fixes

Beginners: How to Set Your Saddle Height 

How to Adjust Saddle Height and Adjustment

Newsletter Terms & Conditions

Please enter your email so we can keep you updated with news, features and the latest offers. If you are not interested you can unsubscribe at any time. We will never sell your data and you'll only get messages from us and our partners whose products and services we think you'll enjoy.

Read our full Privacy Policy as well as Terms & Conditions.

production