Share

MTB Maintenance

How to Set-up Your MTB Suspension

Here's our quick guide to setting up your MTB suspension

Having your bike suspension set up correctly is vital for a comfortable and controlled ride. It plays a significant role in your performance whilst out on the trails, so it’s important to get it right. 

Before we try to determine the ideal set up, let’s go back to the basics and cover what suspension is, and what it does…

All modern mountain bikes will have front suspension. The front suspension – or forks – allow the bike to absorb some of the unevenness in the terrain you’re riding over.

So, when your front wheel rolls over a rooty bit, the front of the bike is able to take up some of that shock, so you don’t feel it as much in your body. With the bike taking up some of that unevenness, it provides a great deal of traction and control for the rider.

Buyers’ Guide: Hardtail versus full suspension mountain bikes

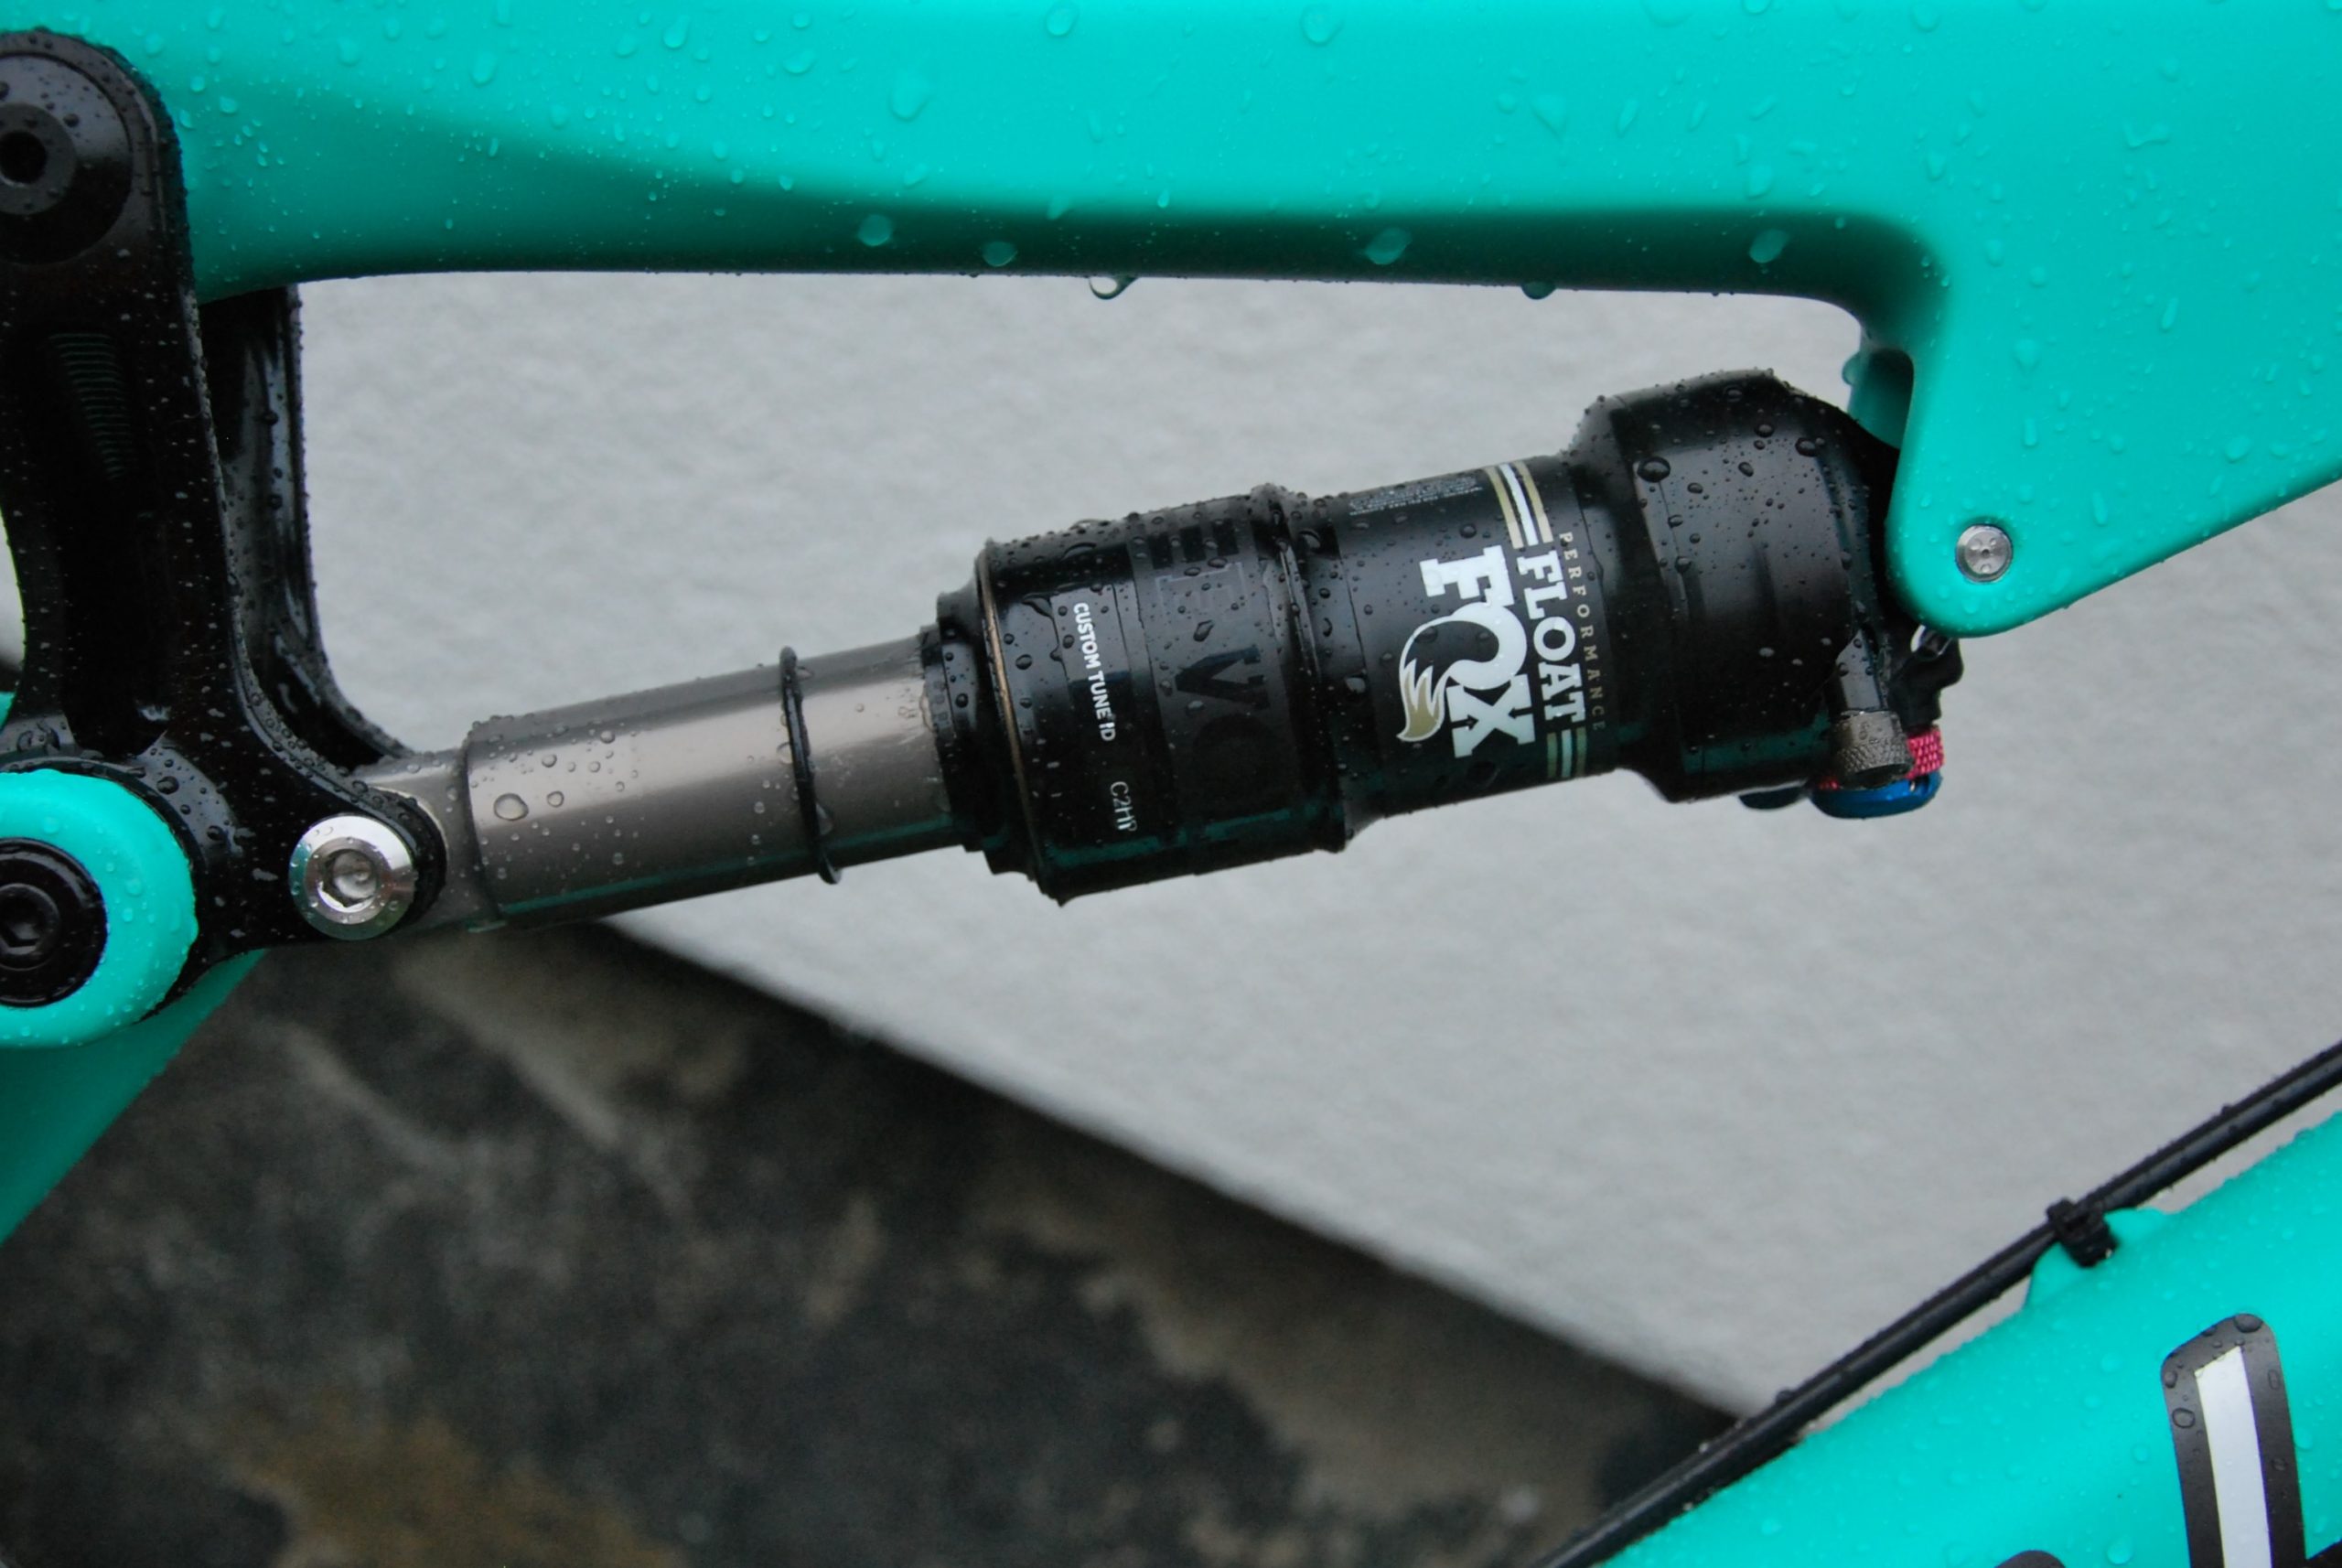
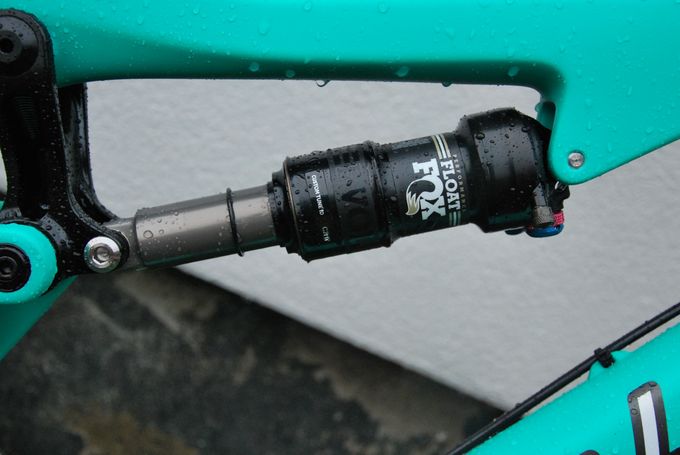
The amount of “shock absorbing” your forks can do, is called the “travel”, which is commonly measured in millimetres. Mountain bikers attacking gnarlier trails will often have rear suspension also, called a rear shock, and it does the same job as the forks, taking up some of that unevenness in the terrain to enable a smoother and more controlled ride.

Your new forks look shiney and glorious mounted upon your stead. The decals are pristine, but the various knobs and dials are more than just a feature, they have function. There are the two main principles that come into play when setting up suspension:

Sag: This is the term given to the amount of suspension that is used up when the rider is sat on the bike. The sag allows some play with the wheels of the bike to roll over dips and holes without bringing the whole bike and rider with it.

Damping: This is the controls the rate at which the suspension spring returns after impact. It effectively controls how springy the suspension is on the bike.

We spoke with the director of Cycle Systems Academy and bicycle wizard, Sean Lally, to find out the best way to set up the Sag and Damping. First, you’ll need a couple of things: a shock pump and a tape measure… and maybe an extra pair of hands, it depends how good your balance is!

Setting the Sag

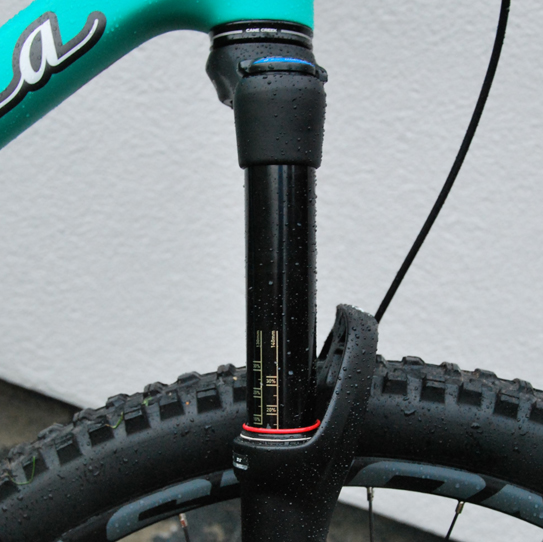
Forks usually have a small rubber o-ring on one of the stanchions. Push this o-ring down to the bottom of the fork seal when the bike is “at rest”.

The red o-ring is pushed down to the fork seal

For super accurate results, kit yourself up in your riding attire. Yes, even the 2L hydration pack. Your pads, helmet, pack and clothing will add precious grams to your overall weight which will affect the sag setting.

Now you’re standing in your full riding kit, the o-ring is pushed to the bottom of the stanchion, you’re ready for the tricky bit. Either ask a friend to help balance the bike, or perch yourself again a wall or ledge, ensuring nothing is on the bike itself.

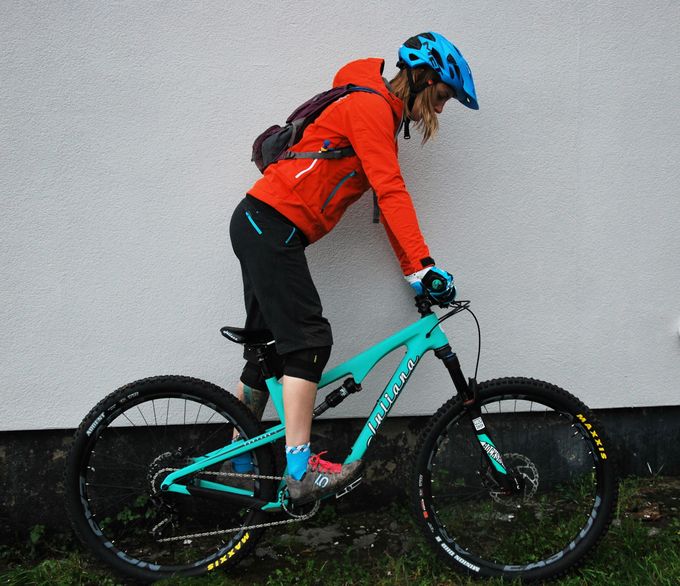
Climb onto your bike in a stand-up ride position. Feet flat and pedals level, and without bouncing at all. Simply stand up with your full weight on the bike, then gently climb back off. The o-ring will have moved up the stanchion somewhat, and the amount it’s travelled by is your sag.

Stand up on the bike in a ride position

Sean explains that as a rule of thumb, you want this sag to be roughly 25% of the full travel for trail bikes, and around 30% for downhill bikes. So this is when you pull out the tape measure, and check your sag is around this mark.

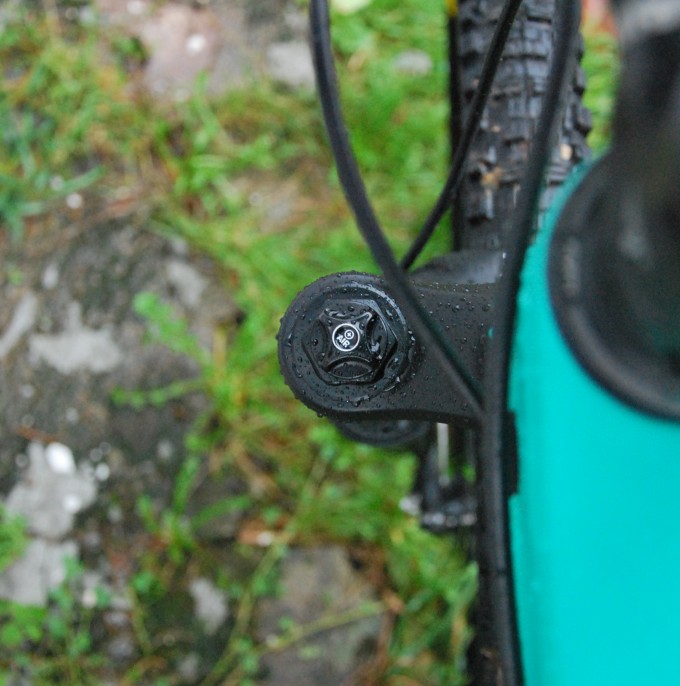
If the sag is too much, and your o-ring has travelled half way up the stanchion, then all you need to do is grab your shock pump and increase the air through the Schrader valve in top of your fork. Pumping air into the forks will stiffen them up and then it’s making finer tweaks to find the right sag level. The opposite goes for a low sag rate, just soften the spring rate by slowly letting out some pressure in the forks.

The fork’s Schrader valve

Setting the Damping/Rebound

As we mentioned above, the damping is what controls how springy and responsive the suspension is. The purpose of suspension is to give the rider control and it achieves this through the traction of the wheels on the ground, so you need to adjust the damping so that you’re not bouncing around everywhere when you ride.

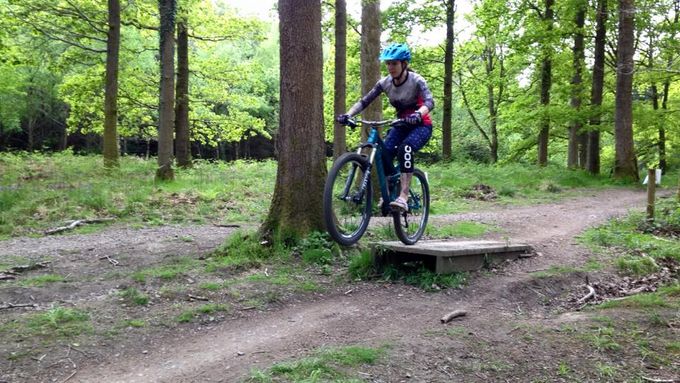
To set this up, turn the rebound dial on your fork leg which has either a “Fast/Slow” or “Hare/Tortoise” image, and set it to the fast option. Sean’s advice is to ride off a curb, or small drop as this will allow you to feel how quick your suspension reacts to the impact of dropping off.

The damping dial is the red knob on the bottom of the fork. This may be different for other makes/models

If the rebound setting is too slow, your fork will ‘pack down’ over multiple bumps. This will reduce your travel so much that you’ll end up going over the handle bars. This is because the return of the spring is set too slowly to recover after each bump.

If it’s set too fast then you’ll lose control easily and the front wheel will skip off the ground and all over the shop with you going along for the ride.

Setting the damping is all about trial and error, adjusting each time by half a click until you feel the rate of return to be correct and comfortable.

N.B It’s important to remember to set the sag first, then set the damping! The same sag and damping adjustments can be carried out on air sprung rear-shocks as well.

Same applications for setting up an air-sprung rear shock

It’s important to make sure you check your settings every so often in case further adjustments are needed.

Sean also mentions that “even changing components will affect your sag settings”. Lengthening/shortening your stem will affect your weight distribution on the bike, so your sag levels may need tweaking, and conversely, so will the rebound.

This is just the tip of the iceberg when it comes to bike set-up and maintenance, but there are plenty of courses out there. Cycle Systems Academy offer a variety of bike workshops and courses so you can be bike guru in no time!

So now your mountain bike suspension is all set up, you’re ready for a controlled and comfortable ride! Have fun out there!

Related Articles

How to find the right MTB tyre pressure

All The Clothing You Need For Winter Mountain Biking

Skills: How to Corner your Mountain Bike in Wet Mud

Newsletter Terms & Conditions

Please enter your email so we can keep you updated with news, features and the latest offers. If you are not interested you can unsubscribe at any time. We will never sell your data and you'll only get messages from us and our partners whose products and services we think you'll enjoy.

Read our full Privacy Policy as well as Terms & Conditions.

production